


3 Scan to File
40 How to Perform Scan to File
7
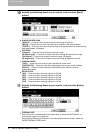
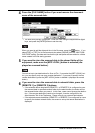
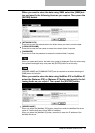
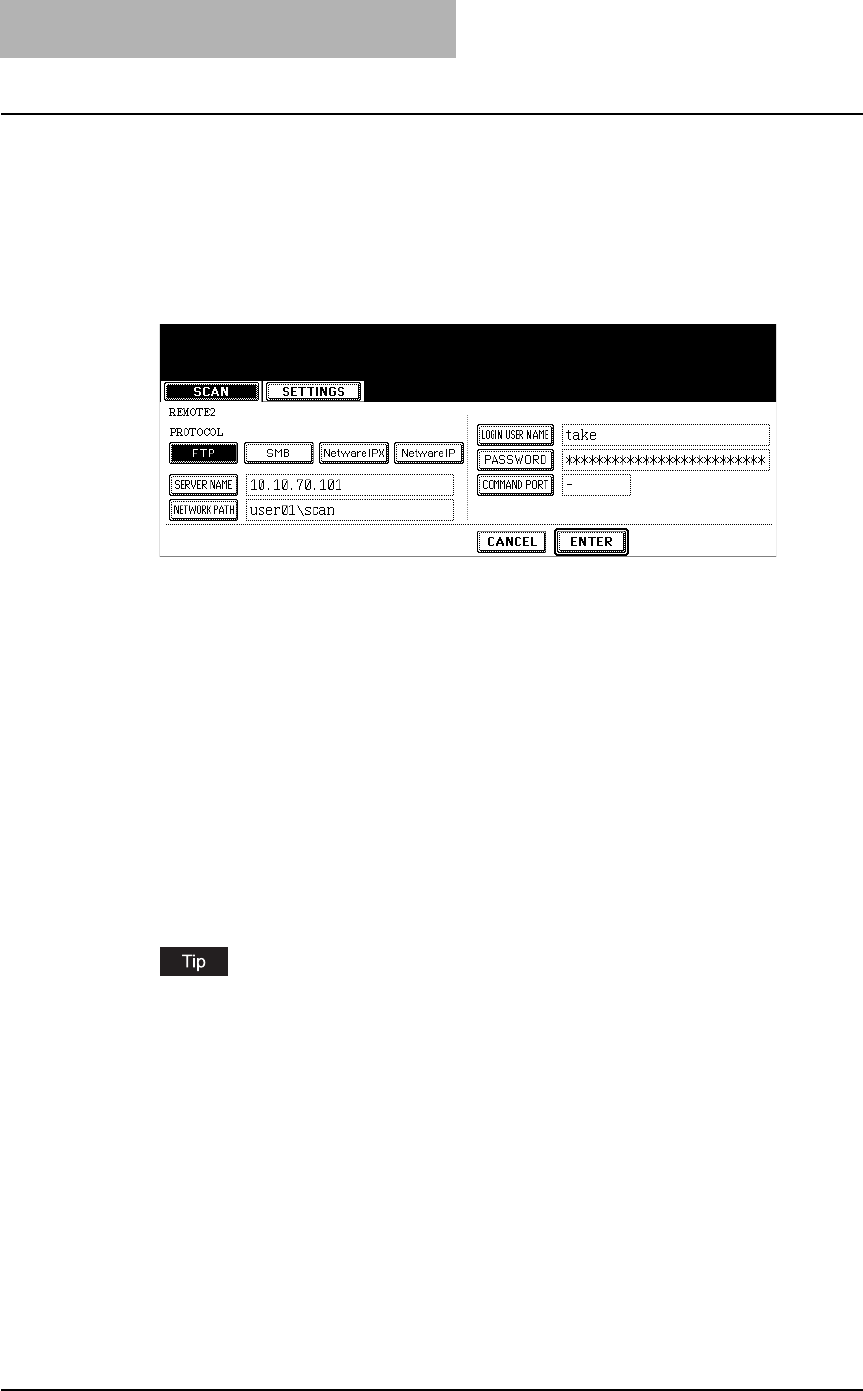
If the screen to set up the remote destination is displayed by press-
ing the [REMOTE 1] or [REMOTE 2] button, specify the remote des-
tination. You can specify the remote destination using FTP, SMB,
NetWare IPX, or NetWare IP.
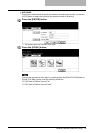
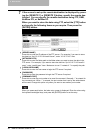
When you want to store the data using FTP, select the [FTP] button
and specify the following items as you require. Then press the
[ENTER] button.
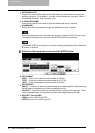
y [SERVER NAME]
Press this to enter the IP address of the FTP server. For example, if you want to store
the data into “ftp://10.10.70.101/user01/scan/”, enter “10.10.70.101” here.
y [NETWORK PATH]
Press this to enter the folder path to the folder where you want to store the data in the
FTP server. For example, if you want to store the data into “ftp://10.10.70.101/user01/
scan/”, enter “user01\scan” here. Make sure to use “\” instead of “/” to specify the path.
y [LOGIN USER NAME]
Press this to enter the user name to login the FTP server if required.
y [PASSWORD]
Press this to enter the password to login the FTP server if required.
y [COMMAND PORT]
Press this to enter the port number to be used for command. Generally “-” is entered for
the command port. When “-” is entered, the port number that is set by the administrator
will be used. Change this option only when you want to use another port number.
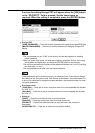
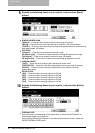
When you press each button, the letter entry screen is displayed. Enter the value using
the keyboard and digital keys, and press the [ENTER] button to set the entry.