Using Bypass Tray 65
2
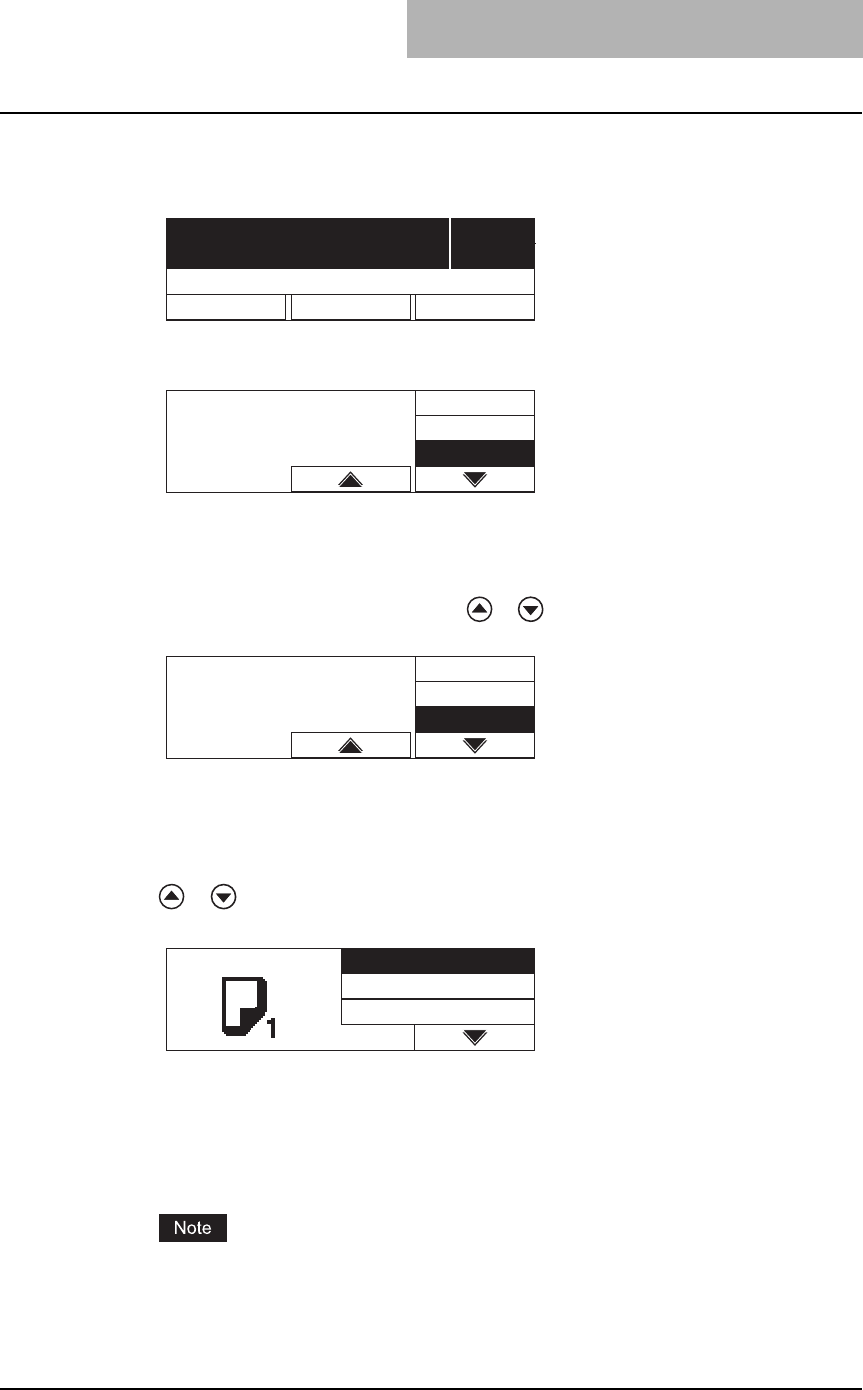
Check the menu.
If the paper size has already been registered, the following menu is displayed.
In this case, proceed to step 5.
If the paper size has not been registered, the following menu is displayed.
In this case, proceed to step 3.
3
Set the paper size.
Press the selecting buttons (Center, Right) to select the size of paper placed in the
drawer. This can also be done with the or button. Then press the [ENTER] button.
e.g.) Setting A4 size
When the paper is other than standard sizes, select “NON_SIZE”.
4
Set the paper type.
Press the selecting button (Right) to select paper type. This can also be done with the
or button. Then press the [ENTER] button.
e.g.) Thick paper (81 to 105 g/m
2
)
You can select the media type from the following four:
THICK PAPER 1: Thick paper (81 to 105 g/m
2
)
THICK PAPER 2: Thick paper (106 to 163 g/m
2
), sticker labels
TRANSPARENCY: Overhead transparencies
PLAIN: Plain paper (64 to 80 g/m
2
), tracing paper
If you select a different media type from the one you placed on the bypass tray, this could
cause a paper jam or the quality of the copied image could be lowered.
1
100% SORT
ZOOM FINISHING EDIT
Ready for bypass
Select paper size
NON_SIZE
COMP
13LG
Select paper size
A4
ST-R
A3
PAPER TYPE THICK PAPER1
THICK PAPER2
TRANSPARENCY
