


6 INTERNET FAX
118 Viewing the Internet Fax Job Status and Log
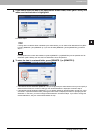
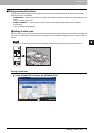
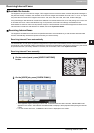
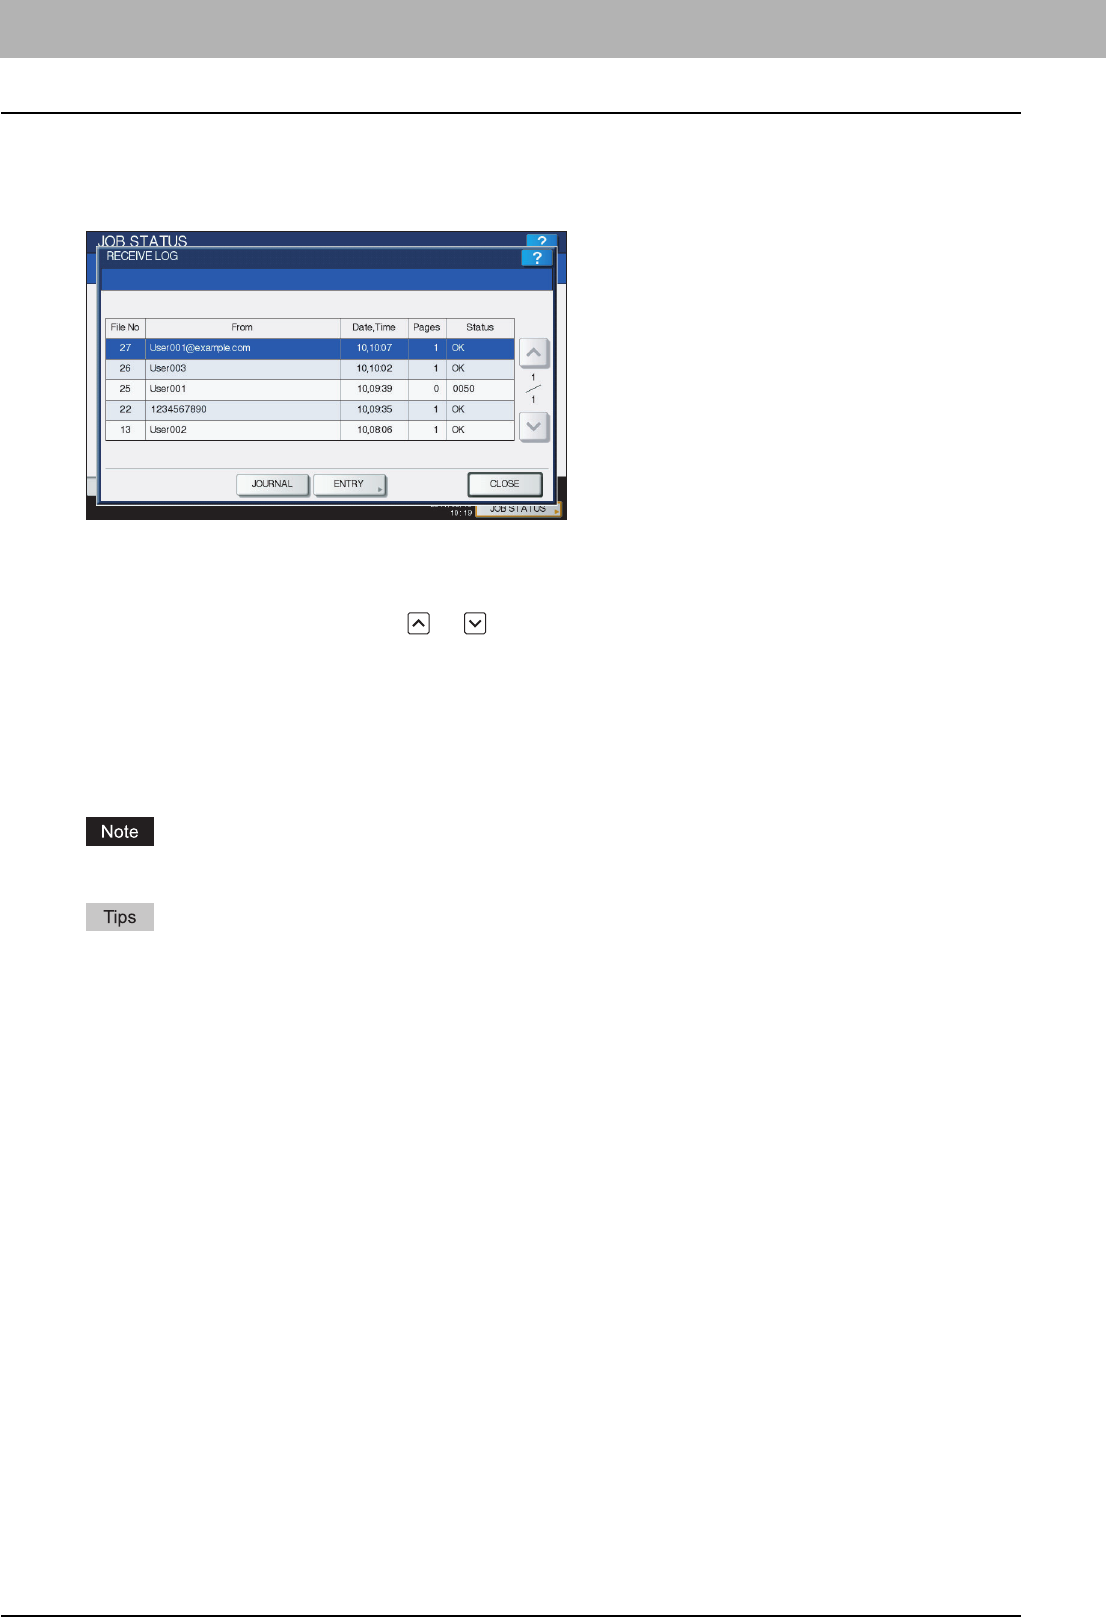
Viewing the receive log for Internet fax jobs
The record of received Internet Faxes can be displayed on the RECEIVE LOG screen. To display the record on the touch
panel, press [JOB STATUS] > [LOG] > [RECEIVE].
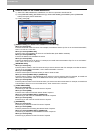
On the RECEIVE LOG screen, you can view each job’s file number (chronological order of jobs), sender’s e-mail address
or fax number, date and time, number of pages, and status (job result).
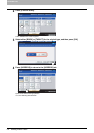
Up to 1000 jobs can be listed. For equipment with no hard disk installed, up to 100 jobs are displayed.
To display the previous or next page, press or . The number of jobs displayed on a page varies depending on the
equipment model.
To print out the displayed information, press [JOURNAL].
If you want to save contact information, such as phone numbers and e-mail addresses, to the address book, press
[ENTRY].
P.118 “Saving contact information to the address book”
To exit from the RECEIVE LOG screen, press [CLOSE].
Besides Internet Fax receptions, fax and e-mail receptions are recorded and displayed on the RECEIVE LOG screen.
y For details on error codes displayed in the “Status” column, refer to the Troubleshooting Guide.
y The reception record of Internet FAX jobs can be exported to a USB storage device. For details, refer to the MFP
Management Guide.
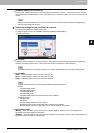
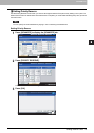
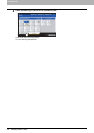
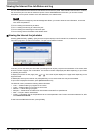
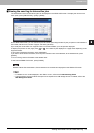
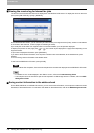
Saving contact information to the address book
On the SEND, RECEIVE, and SCAN LOG screens, you can save contact information, such as phone numbers and e-mail
addresses, to the address book. For instructions and details on the address book, refer to the MFP Management Guide.