14
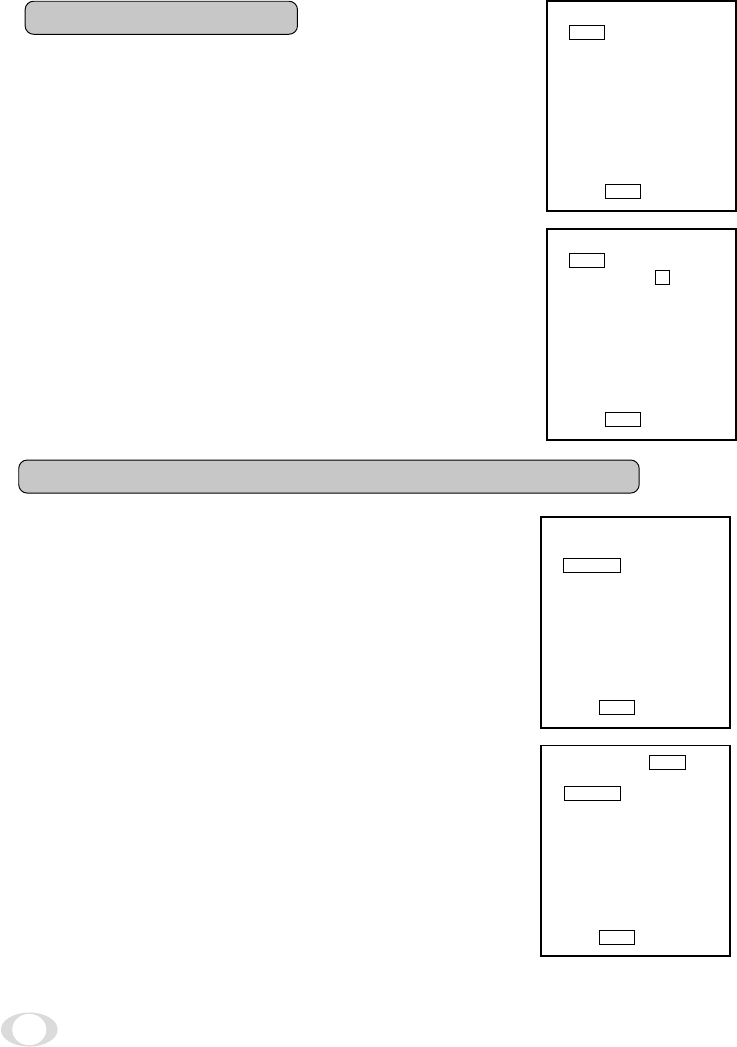
7.1 FILE (Scene File)
There are two scene files A and B which can be se-
lected according to the shooting state.
1
Move the cursor to “FILE” in the main menu us-
ing the UP or DOWN button.
2
Press the FUNC button to display the contents to
set FILE, A or B. Move the cursor to A or B using
the UP or DOWN button. Press the FUNC button
to set the contents.
Note:
• The scene file is for the menu screen. The
AGC switch and the WB switch are only
valid in their set positions.
• The new settings are memorized when the
POWER is turned off.
SHUTTER AUTO
FILE A
PEDESTAL 00
SYNC INT
AREA LINK:1
W
B-OFFSET 00
INIT.
END
PUSH FUNC TO SELECT
7.2
SHUTTER (Electronic Shutter, Backlight Correction)
The electronic shutter is available in AUTO (auto
electronic shutter), 1/60 ~ 1/10000 and SS (synchro-
nized scan).
AUTO: Controls electronic shutter automati-
cally to output the set video level. Can
be selected in backlight correction,
peak measurement, average mea-
surement and measurement area.
1/60~1/10000: Exposure time can be fixed to any one
of 1/60, 1/100, 1/250. 1/500, 1/1000,
1/2000, 1/4000 and 1/10000.
SS: Sets the electronic shutter in horizon-
tal scanning time intervals of 1H.
1
Move the cursor to “SHUTTER” in the main menu
using the UP or DOWN button.
2
Press the FUNC button to display AUTO ~ EXIT
to set SHUTTER. Move the cursor to a desired
item of AUTO ~ SS using the UP or DOWN but-
tons. Press the FUNC button to frame a desired
item in white.
3
Move the cursor to “EXIT” using the UP or DOWN
button. Press the FUNC button. Return to the
main menu.
SHUTTER AUTO
FILE A
PEDESTAL 00
SYNC INT
AREA LINK:1
W
B-OFFSET 00
INIT.
END
PUSH FUNC TO SELECT
SHUTTER B
FILE A
PEDESTAL
SYNC
AREA
W
B-OFFSET
INIT.
END
PUSH FUNC TO SELECT
SHUTTER
FILE
1/100
1/60
1/500
1/1000
1/2000
1/4000
1/10000
1/250
262/525H
PEDESTAL
SYNC
AREA
W
B-OFFSET
INIT.
END SS
EXIT
PUSH FUNC TO SUB
M
ENU
AUTO


