


TL-SL2109 8+1G Gigabit Ethernet Smart Switch User Guide
Chapter 3: Installation
3.1 Installation
Firstly, please place the switch following the steps:
The surface must support at least 5kg;
The power source must be within 1.5m;
Check the power cable carefully to make sure the connection to AC power;
Leave enough space for the ventilation.
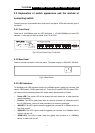
3.1.1 Installation on the desktop
1. Place the Switch on a desk which has enough space;
2. Take off the four pads’ adhesive tape and adhere to the four circle grooves on the
bottom of the switch respectively;
3. Turn off the switch again, place on the desktop.
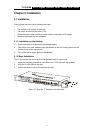
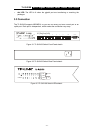
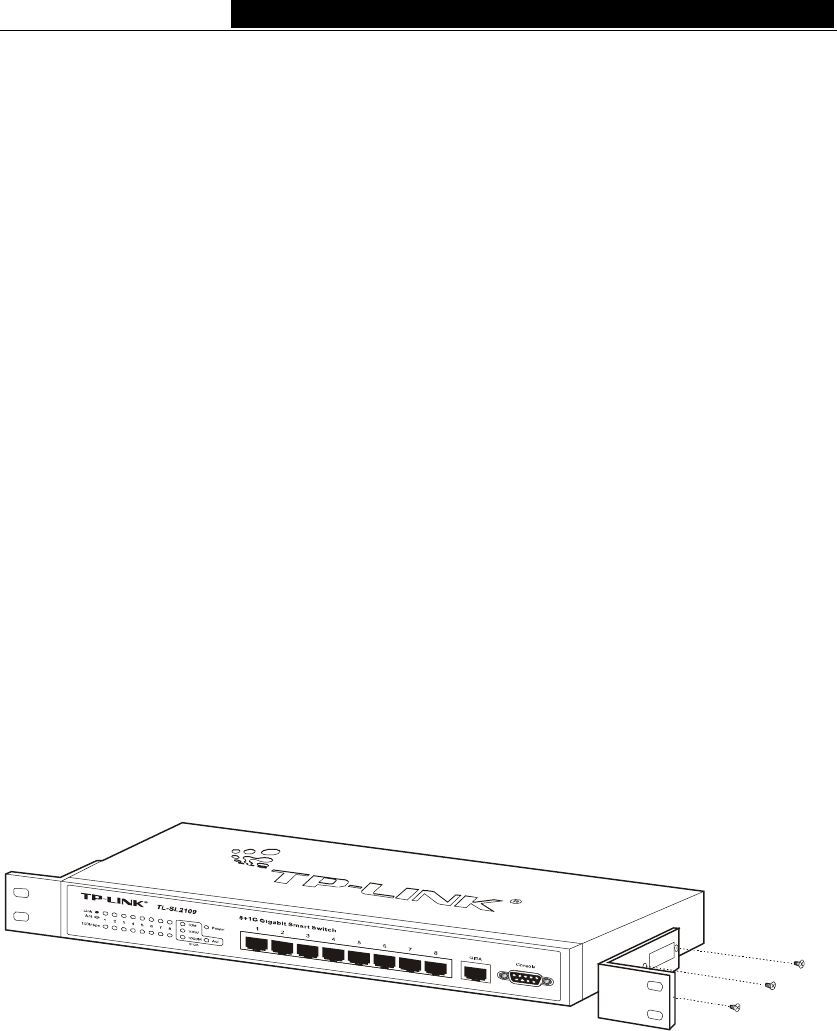
3.1.2 Rack Installation
The TL-SL2109 can be mounting in an EIA Standard size 19 inches rack.
1. Attach the mounting brackets to each side of the TL-SL2109 with the screwes;
2. Slide the TL-SL2109 into the rack;
3. Use the screwes to secure the switch to the rack..
Figure 3-1 Rivet the “L” brackets onto the Switch
- 5 -