22
About the microphone input
• If you wish to use a microphone, connect a 3.5 mini jack cable microphone to the
projector.
• You can use a wireless microphone as long as a wireless module is attached to the
projector’s microphone input jack and it works well with the associated devices. To
ensure a quality use of the wireless microphone, it is recommended that your
microphone conforms to the specifications listed in the table below.
• There are two ways to adjust microphone volumes.
• Directly set microphone volume levels in the SYSTEM SETTING:
ADVANCED > Audio Settings > Microphone Volume menu.
• Set projector volume levels in the SYSTEM SETTING: ADVANCED > Audio
Settings > Audio Settings > Audio Volume menu, or press (Volume) on the
remote control. (The projector volume setting will affect the microphone volume.)
• If the microphone is not working, check the volume setting and cable connection.
• You might get feedback noise from the microphone when you are too close to the
speaker of the projector. Move the microphone away from the speaker of the projector.
The greater volume you require, the greater distance you need to be away from the
speaker to prevent the noise.
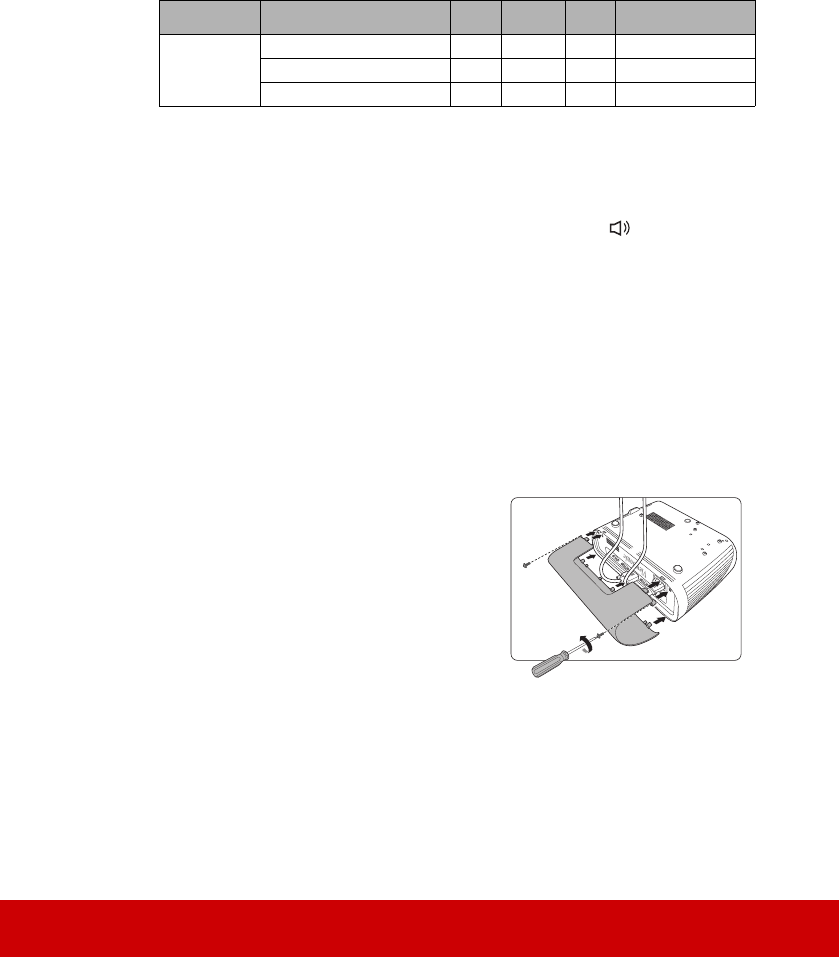
Using the cable management cover
This cable management cover helps you to conceal and organize the cables connected to the
back of the projector. It is especially useful when the projector is ceiling-mounted or wall-
mounted.
1. Make sure that all the cables are properly
connected to the projector.
2. Attach the cable management cover to the
back of the projector.
3. Tighten the screws that secure the cable
management cover.
Signal Parameter Min Type Max
Microphone
Transducer Principle Dynamic
Impedance 300 1K ohm
Frequency response 600 16k Hz


