31 VISIONEER PHOTOPORT 7700 USB SCANNER INSTALLATION GUIDE
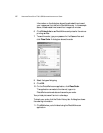
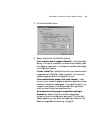
Save images for which no prints were ordered.—select this
option if you added images to the PhotoWorks.com application but
did not place an order. The next time you open the application, the
images are still available so you can order the prints.
Automatically continues the upload of images...—this option is
helpful if you get disconnected from the internet while the order is
being sent. Select this option to have your computer automatically
continue sending an interrupted order so you don’t have to
manually re-send it.
If you want to reset the preferences to their default settings, click
Default.
2. Click one of the other tabs on the PhotoWorks.com application to
continue working, or click Exit if you’re finished.
SETTING PHOTOPORT PREFERENCES
Your scanner is pre-configured to transfer images directly to the
PaperPort Desktop as soon as you insert a memory card in its slot.
However, you can change the scanner preferences to display the images
on the card before they’re transferred. Other preferences determine
where the images are sent and the names of the drives on your computer
associated with the cards.
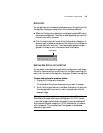
To set PhotoPort preferences:
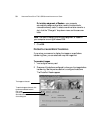
1. Place the mouse pointer on the scanner icon in the Windows
taskbar.
2. Right-click the icon. The shortcut menu appears.
3. Choose Configure from the shortcut menu.
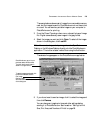
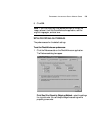
4. Click the Preferences tab on the Configuration dialog box.
The Preferences dialog box appears.
Preferences tab


