39 VISIONEER PHOTOPORT 7700 USB SCANNER INSTALLATION GUIDE
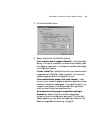
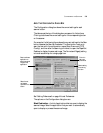
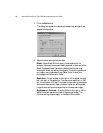
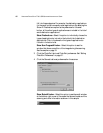
3. Click a selection in the Select Configuration list to choose a new
scan configuration for the selected scanner button.
The configurations in the list are preset for the application you
select in the application list. If you select another application, the
configurations are for that application.
If you want to scan using the Visioneer Scan Manager Pro, click the
option, Configure before Scan. Now when you press the selected
scanner button, the Visioneer Scan Manager Pro dialog box appears
first and you can use it to scan. See “Scanning an Item with the
Twain Button” on page 48 for details.
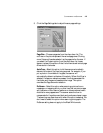
4. Select one of the Format and Page(s) options for the button.
5. Click OK.
Now when you press the scanner button, it scans the image using
the new configuration settings and displays the scanned image in
the new destination application.
CREATING NEW CONFIGURATIONS
You cannot change settings such as brightness or contrast of the preset
configurations. To scan with settings other than those offered by the
preset configurations, you must first create a new configuration and
then use it to scan.
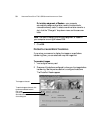
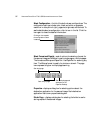
To create a new configuration click the New button. You can also click
Copy to copy a preset configuration, change its settings, and then save it
under a new configuration name. To see Help for creating a new
configuration press the F1 key on your keyboard.
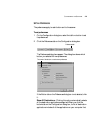
Note: The Configuration dialog box is also available from the
scanner icon on the Windows taskbar. Click the icon to see the
scanner buttons panel. Click a button on the panel with the right
mouse button (don’t click with the left mouse button; clicking with
the left mouse button starts scanning). The Configuration dialog box
appears.


