SCANNING FROM THE PAPERPORT SOFTWARE 39
SCANNING FROM THE PAPERPORT SOFTWARE
Instead of using a scanner button, you can scan directly from the
PaperPort software. This is particularly helpful when you’re using
PaperPort to file and save your scanned items.
To scan from PaperPort, you must first do a one-time-only set up of the
software.
To set up the PaperPort software with the scanner:
1. If the PaperPort software isn’t currently running, double-click the
PaperPort icon on the Windows desktop to start it. The PaperPort
Desktop appears.
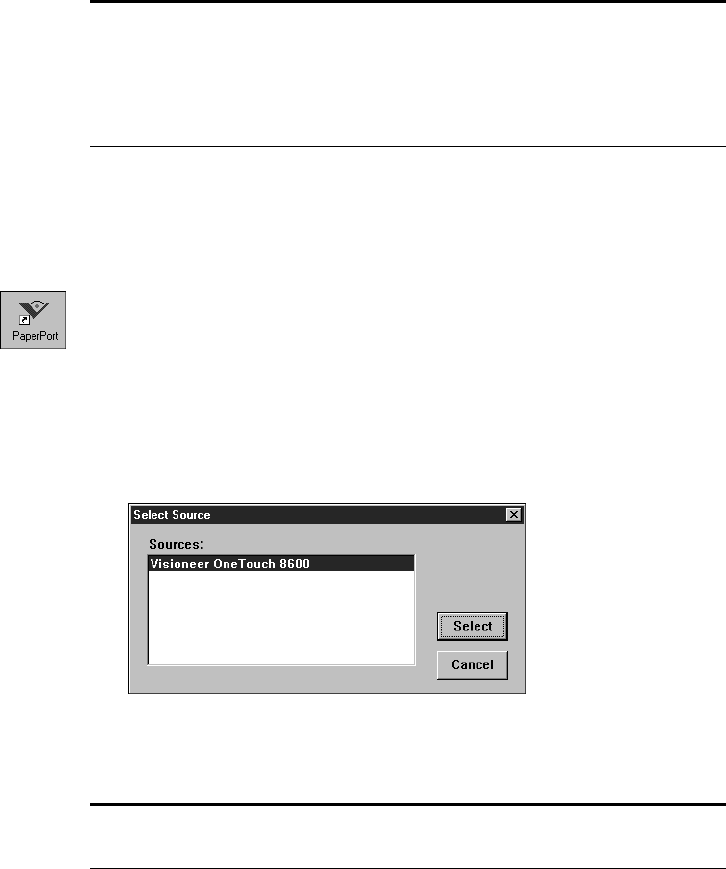
2. From the PaperPort File menu, choose Select Source. The Select
Source dialog box appears, and shows your Visioneer OneTouch
scanner (as well as all other Twain devices installed on your
computer).
3. Choose the Visioneer OneTouch scanner option, and then
click Select.
Note: You can also scan directly with other software that meets the
Twain standards for scanning, which includes many graphics and
imaging applications available for your computer. The following steps
explain how to set up and scan from the PaperPort software but you
use the same basic processes with other Twain software.
Note: You don’t need to set up the scanner again unless you change
the source to some other Twain device, such as a digital camera.
