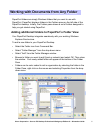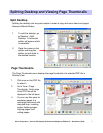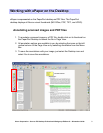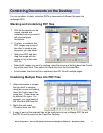
Xerox Corporation –Scan to PC Desktop Professional Workgroup Edition v8 –Orientation Guide
10
Creating PDF Files
Creating PDF Files
Combining paper documents and digital documents typically requires several
steps…printing, scanning…and lots of time. With PaperPort Professional 10,
documents from all of your MS Office applications can be printed directly to the
PaperPort Desktop and then automatically combined with scanned images to create a
new unified digital PDF documents. Also, you can convert batches of documents into
PDF files using PDF Create!. Please see the Advanced section of the Orientation
Guide for information on batch creation of PDF files for archival or distribution
purposes.
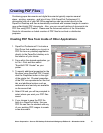
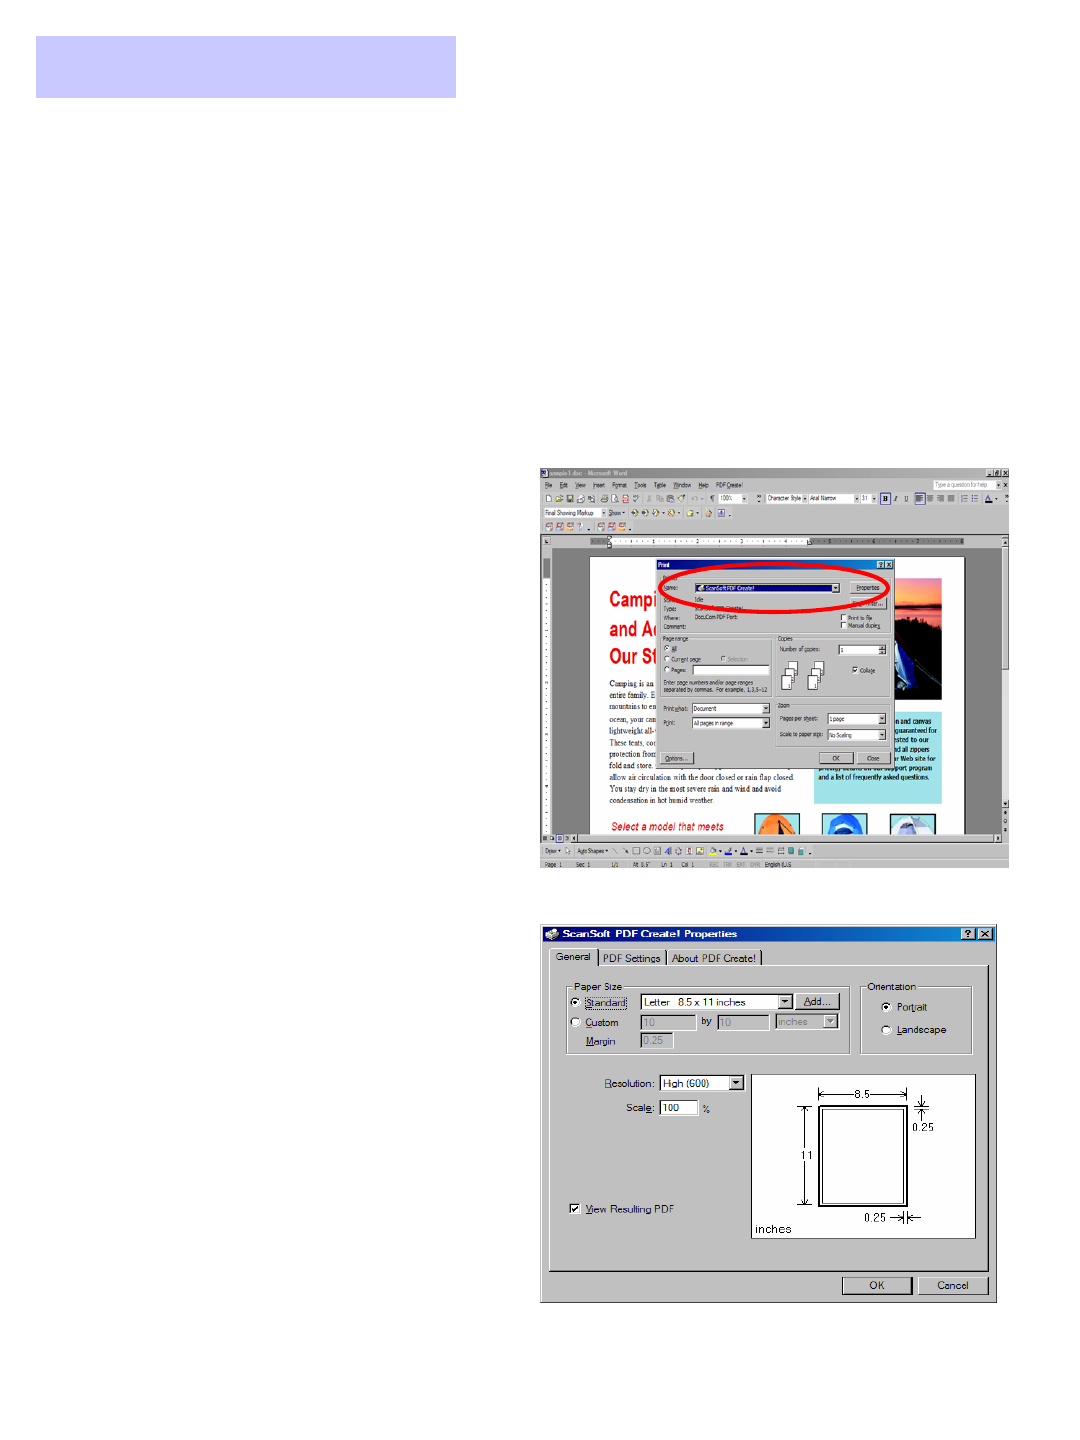
1. PaperPort Professional 10 includes a
Print Driver that enables you to print a
PDF file from any desktop application
directly to the PaperPort desktop or to
the location of your choice.
2. From within the desired application, go
to File > Print and then select
“ScanSoft PDF Create!”as your
printer.
3. To specify additional properties for the
file when using ScanSoft PDF Create!,
click the Properties button to the right
of the printer list. Physical properties
of the PDF are represented on the first
tab, and additional options such as
watermarks and security are available
on the second tab.
4. Select OK and you will be prompted to
select where you want your PDF files
saved.
5. If you choose to save the PDF file
back to a PaperPort folder, this new
PDF file can then be stacked with any
of your existing PDF images to create
a new document.
Creating PDF files from Inside of Other Applications


