AUTO SETUP (IntelliBeam)
34 En
• Make sure that your listening room is as quiet as possible while
this unit is performing the AUTO SETUP procedure.
• To achieve the best results possible, evacuate yourself from
your listening room until the AUTO SETUP procedure is
completed so that you may not obstruct the path of sound
beams.
• Be advised that it is normal for loud test tones to be output
during the AUTO SETUP procedure.
• The AUTO SETUP procedure may not be run successfully if
this unit is installed in one of the rooms described in “Before
installing this unit” on page 13. In such cases, run MANUAL
SETUP (see page 56) to manually adjust the corresponding
parameters.
• If an error occurs, an error buzzer is played, the AUTO SETUP
procedure stops, and an error message appears on the screen.
See “Error messages for AUTO SETUP” on page 37 for
appropriate remedies.
y
• The AUTO SETUP procedure takes about three minutes
maximum. A chime is played when the AUTO SETUP
procedure is run successfully.
• If there are curtains in your listening room, we recommend
following the procedure below.
1. Open the curtains to improve sound reflection.
2. Run BEAM OPTIMZ only.
3. Close the curtains.
4. Run SOUND OPTIMZ only.
• You can save the settings optimized by the AUTO SETUP
procedure (see page 38). A set of settings optimized according
to the specific conditions of your listening environment can be
recalled later depending on the varying conditions of your
listening environment (see page 39).
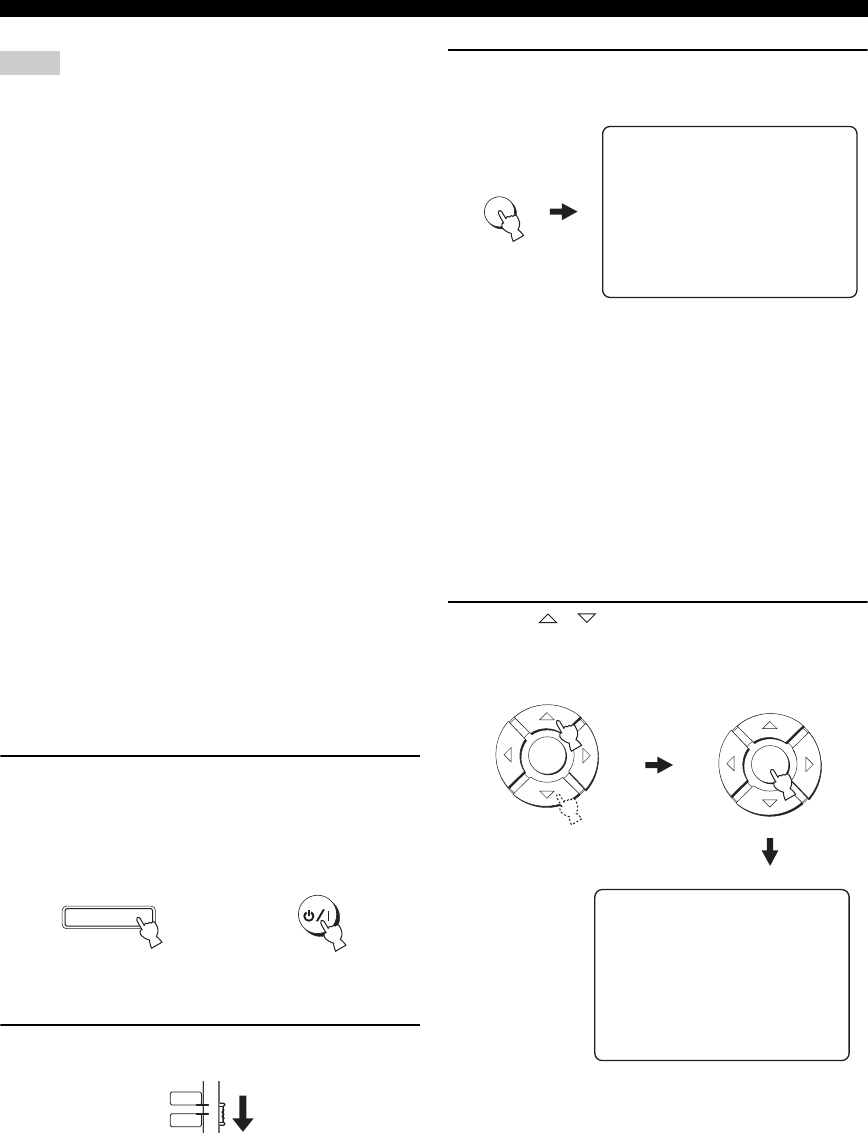
1 Press STANDBY/ON to turn on the power of
this unit.
If a subwoofer is connected to this unit, turn on the
power of the subwoofer.
2 Set the operation mode selector to YSP.
3 Press MENU.
The SET MENU screen appears on your TV.
y
• The control buttons used for SET MENU are displayed at
the bottom of the screen.
• To return to the previous screen while using SET MENU,
press RETURN.
• To exit from the SET MENU screen, press MENU again.
• You can start the BEAM+SOUND OPTIMZ procedure
simply by pressing and holding AUTO SETUP for more
than two seconds. Steps 4 and 5 are skipped and then the
screen shown in step 5 is displayed on your TV. Start the
AUTO SETUP procedure from step 6.
• You can also perform the following operations in the front
panel display.
4 Press / to select AUTO SETUP and
press ENTER.
The following screen appears on your TV.
Notes
STANDBY/ON
STANDBY/ON
or
Front panel
Remote control
YSP
TV/AV
MENU
;MEMORY
;AUTO SETUP
;MANUAL SETUP
;LANGUAGE SETUP
[ ]/[ ]:Up/Down
[ENTER]:Enter
SET MENU
.
p
p
1)BEAM+SOUND OPTIMZ
2)BEAM OPTIMZ only
3)SOUND OPTIMZ only
[ ]/[ ]:Up/Down
[ENTER]:Enter
;AUTO SETUP
.
p
p
ENTER
ENTER


