


Zebra XiIII-Series User’s Guide 41
yØÃAÏ
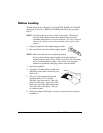
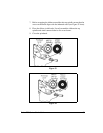
After you have installed the media and ribbon and the Power-On Self Test
(POST) is complete, the front panel display shows “PRINTER READY.”
(If the printer fails its POST, refer to page 81.) You may now set printer
parameters for your application using the front panel display and the five
keys directly below it.
NOTE: Printers that are operating on an IP network can be quickly
configured via ZebraLink
WebView (optional ZebraNet
®
PrintServer II required). For information, refer to ZebraNet
Networking: PrintServer II Installation and User’s Guide.
If it becomes necessary to restore the initial printer defaults, see “FEED
Key and PAUSE Key Self Test” on page 85.
NOTE: Unless otherwise noted, all parameters are listed in the order they
are displayed, starting with “DARKNESS.”
(QWHULQJWKH6HWXS0RGH
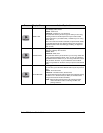
To enter the programming mode, press the SETUP/EXIT key. Press either
the NEXT/SAVE key or PREVIOUS key to scroll to the parameter you
wish to set.
NOTE: You may also press and hold the NEXT/SAVE and PREVIOUS
keys to quickly advance through the configuration parameters.
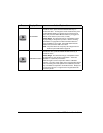
Parameters in this section are shown in the order displayed when pressing
the NEXT/SAVE key. Throughout this process, press the NEXT/SAVE
key to continue to the next parameter, or press the PREVIOUS key to
return to the previous parameter in the cycle.
An asterisk (*) in the upper left-hand corner of the display indicates that
the value displayed is different than the currently stored value.