Setup Program 11
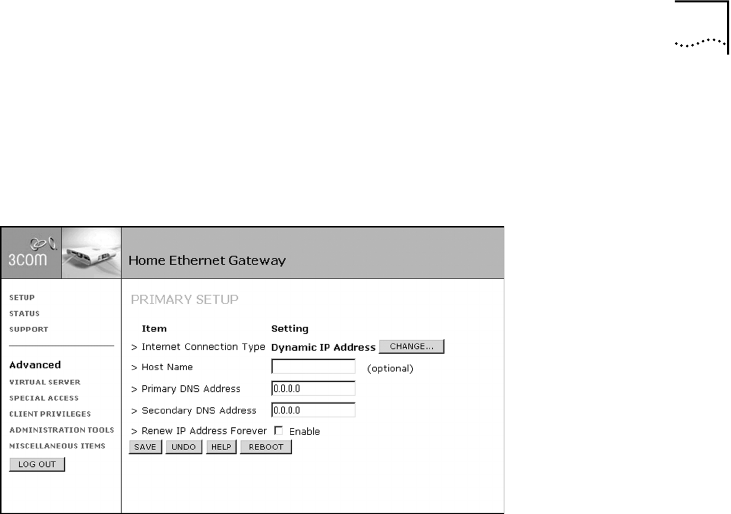
Dynamic IP Address
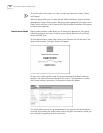
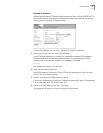
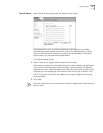
Activating the Dynamic IP Address radio button and then clicking SAVE & NEXT in
the Choose Internet Connection Configuration screen will generate the Primary
Setup screen for Dynamic IP Address setup.
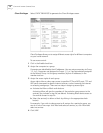
To setup the gateway for use with a dynamic IP address connection:
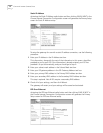
1 Enter your primary and secondary DNS addresses.
Your ISP should provide your primary and (optional) secondary DNS addresses.
Enter the addresses in the appropriate text boxes. If you are using the DHCP
option (which automatically assigns your IP address), the value
0.0.0.0
will already by entered in the text box.
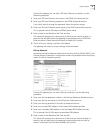
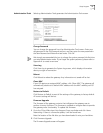
2 Enter the Host Name (optional).
Some ISPs require a host name. If your ISP has this requirement, enter the host
name in the Host Name text box.
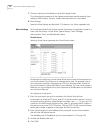
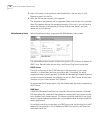
3 Choose your Renew IP Address Forever option.
If you want the gateway to renew its IP address automatically, even if the gateway
is in an idle state, click the Enable check box.
4 Check all of your settings, and then click Save.
The gateway will restart, and your settings will be activated.


