4 CHAPTER 2: HARDWARE INSTALLATION
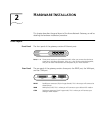
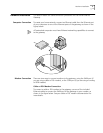
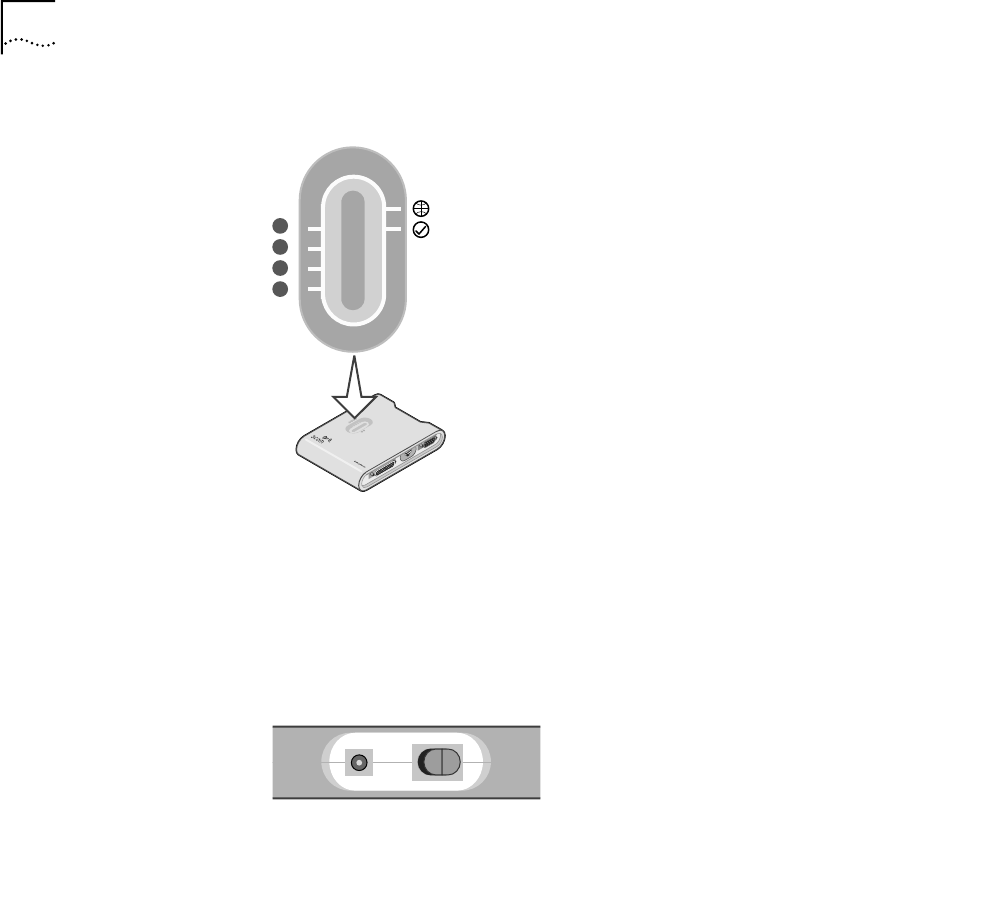
Top Panel The top panel of the gateway contains 6 LEDs.
l
Left Side Panel
Installation
Requirements
The gateway can be positioned in any convenient place in your office or home.
Follow these guidelines to ensure a troublefree installation:
■ Place the gateway on a flat horizontal surface.
■ Keep the gateway away from any sources of heat.
■ Do not place the gateway in a dusty or wet environment.
Be sure to turn off the power, remove the power cord from the outlet, and keep
your hands dry when connecting other devices to the gateway.
Ethernet Ports (1-4) The Ethernet port LEDs (green) will flicker when the corresponding port
is sending or receiving data.
WAN (globe icon) The WAN port LED (green) will flicker when the WAN port is sending or
receiving data.
Status (checkmark
icon)
The Status LED will flash once per second to indicate that the gateway
is functioning correctly.
1
2
3
4
PRINT
COM
WAN
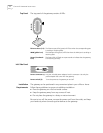
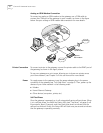
Power connector (1) Plug the included power adapter into this connector. Use only the
power adapter that came with the gateway.
Power switch (2) Turns the power to the gateway on and off.


