


LAN Setup 37
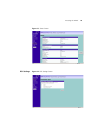
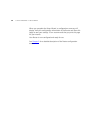
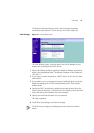
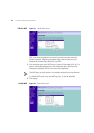
The Router will also provide you with a list of all client computers
connected to the network. To view the list, click DHCP clients list.
LAN Settings
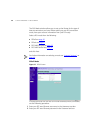
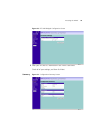
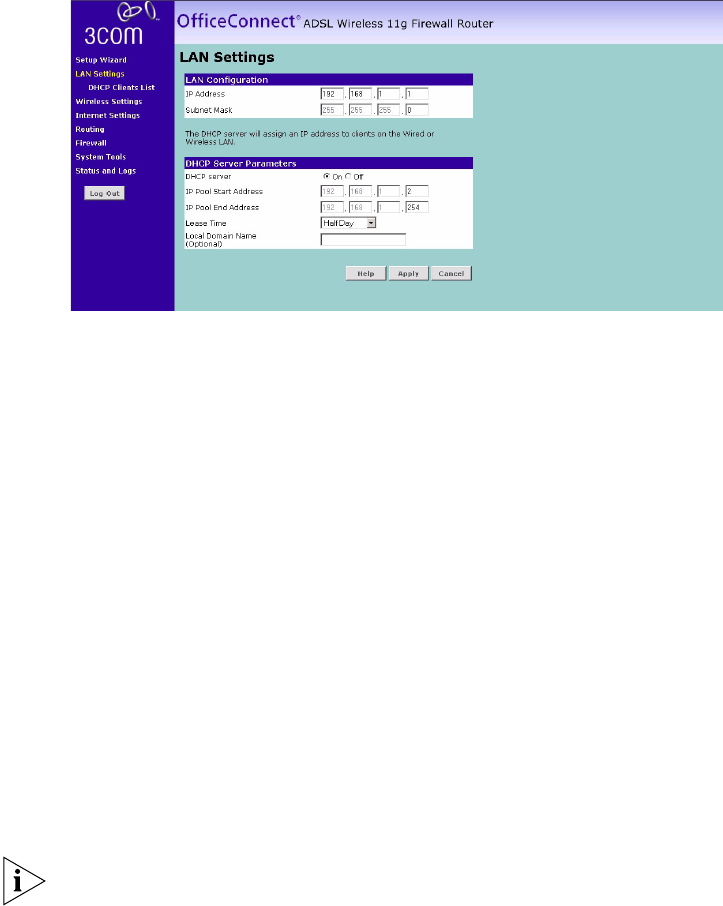
Figure 21 LAN Settings Screen
The LAN Settings screen is used to specify the LAN IP address of your
Router, and to configure the DHCP server.
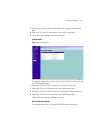
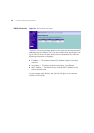
1 Select LAN Settings and then specify the Router IP Address and Subnet
Mask in the appropriate fields. The default IP address of the Gateway is
192.168.1.1.
2 If you want to use the Gateway as a DHCP Server, click in the On check
radio button.
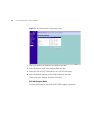
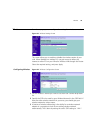
3 If you need to, you can change the range of addresses given out by the
Router by changing the IP Pool Starting Address and IP Pool Ending
Address fields.
4 Specify the DHCP Lease time by selecting the required value from the
Lease Time drop down list. The lease time is the length of time the DHCP
server will reserve the IP address for each computer
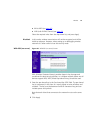
5 Specify the Local Domain Name for your network.
This step is optional.
6 Check all of your settings, and then click Apply.
The DHCP server will give out addresses to both wired and wireless
clients.