Features in Release 2.2
50 RN-001029-00, Rev 06, Release 2.2
IP Phone Release Notes 2.2
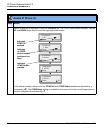
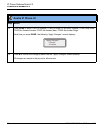
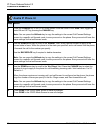
5 Press the CHANGE key in the CFWD State screen. With the cursor in the “State” field, toggle the
state ON and OFF by pressing the CHANGE key.
Note: You can press the AllAccts key to copy the settings in the current Call Forward Settings
screen for a specific call forward mode, to every account on the phone. Every account will have the
same settings for that call forward mode.
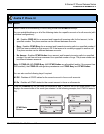
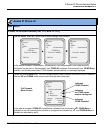
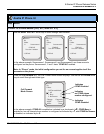
6Use the DOWN arrow key to scroll to the “Number” field. Enter a phone number to apply to the
current state in focus. When the phone is in the state you specified, and a call comes into the phone,
it forwards the call to the number you specify.
Use the BACKSPACE key if required to delete characters.
Note: You can press the AllAccts key to copy the settings in the current Call Forward Settings
screen for a specific call forward mode, to every account on the phone. Every account will have the
same settings for that call forward mode.
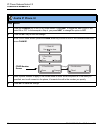
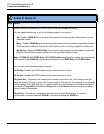
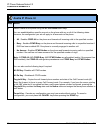
7Use the DOWN arrow key to scroll to the “No. Rings” field. Press the CHANGE key to select the
number of rings to apply to the phone for call forwarding incoming calls. Valid values are 1 to 20.
Default is 1.
When the phone receives an incoming call, and call forward is configured on the phone, the phone
rings the number of times you specify in the No. Rings screen, and then forwards the call.
Note: You can press the AllAccts key to copy the settings in the current Call Forward Settings
screen for a specific call forward mode, to every account on the phone. Every account will have the
same settings for that call forward mode.
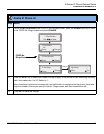
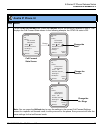
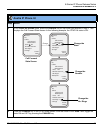
8 Press DONE in the CFWD State Screen to save all changes.
Press DONE in the CFWD Mode Screen to save all changes.
Aastra IP Phone UI
Step Action


