


65
To remove a CPU:
If you are replacing a CPU on the system, the heat sink must first be
removed.
Important: Before removing a CPU from the mainboard, make
sure to create a backup file of all important data.
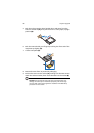
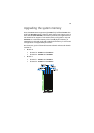
1 Observe the ESD precautions and pre-installation instructions
described on page 39.
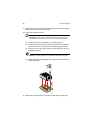
Warning! The heat sink becomes very hot when the system
is on. NEVER touch the assembly with any metal or with
your hands.
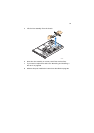
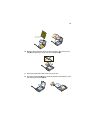
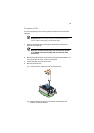
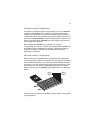
2 Remove the CPU air duct. Perform the instructions described in “To
remove the CPU air duct” section on page 45.
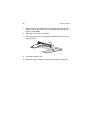
3 Locate the CPU you want to remove.
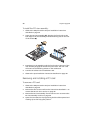
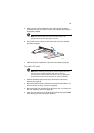
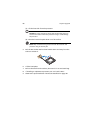
4 Remove the heat sink.
(1) Loosen the four captive screws on the heat sink.
(2) Twist the heat sink lightly to break the seal between the
heatsink and the processor.