ADCP-80-524 • Issue 1 • November 2001
Page 21
© 2001, ADC Telecommunications, Inc.
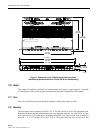
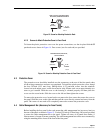
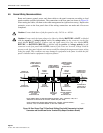
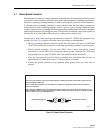
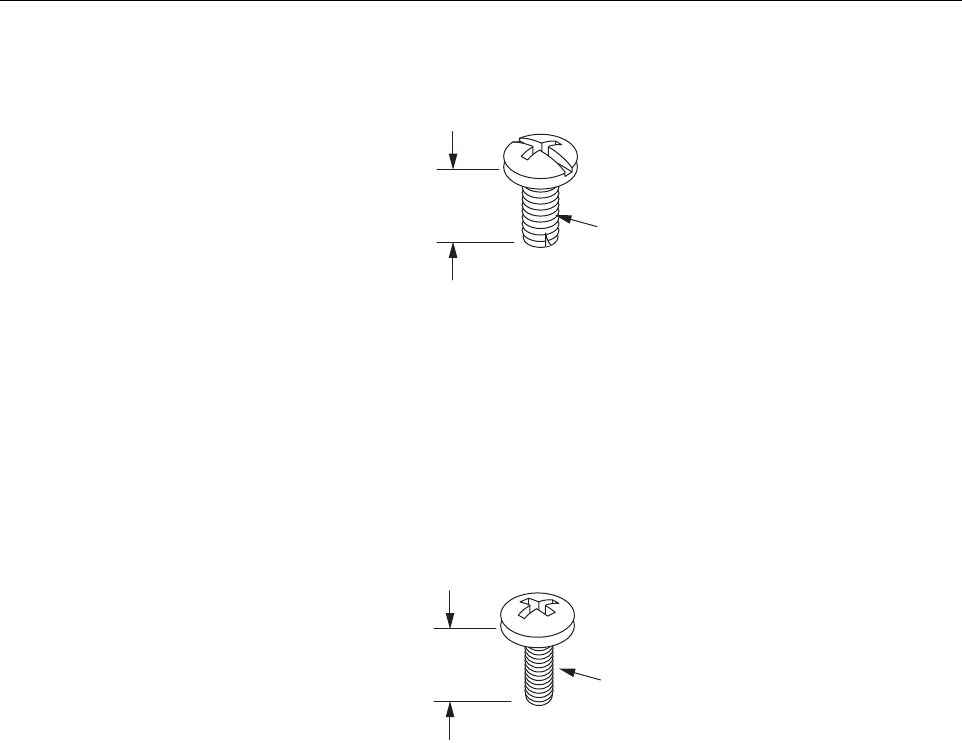
Figure 13. Screw for Attaching Bracket to Rack
4.2.3 Screws to Attach Protective Cover to Fuse Panel
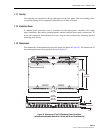
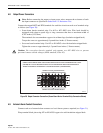
To fasten the plastic protective cover over the power connections, use the tin plate finish 6-32
pan-head screws shown in Figure 14. Four screws (two for each end) are provided.
Figure 14. Screw for Attaching Protective Cover to Fuse Panel
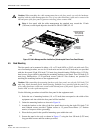
4.3 Protective Cover
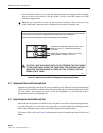
The protective cover should be installed over the connectors at the rear of the fuse panel when
all the wiring connections and tests are completed. To install the plastic protective cover, thread
the four 3/8-inch (9.53 mm) long, Phillips-drive, 6-32 pan-head screws into the standoffs
located on each output power screw-down barrier strip. Rotate each screw approximately two
turns to get it started. Hold the cover so the lettering is oriented properly and then place the
cover over the screw heads. Slide the cover to the left and then tighten the screws.
To remove the protective cover, loosen but do not remove the four screws that secure the cover to
the panel. Slide the cover to the right and then pull the cover directly outward and away from the
panel. The screws do not need to be completely removed to remove the protective cover.
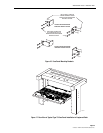
4.4 Cable Management Bar (Accessory for Fuse Panels)
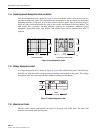
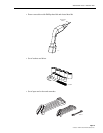
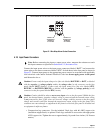
Before installing the fuse panel in the rack, mount the cable management bar (accessory item) on
the rear of the panel as shown in Figure 15. Use the 0.25-inch (6.35 mm) long 4-40 screws provided
to secure the cable management bar to the panel. Tighten all screws to 9 pound force-inches (1
Newton meter) of torque to insure grounding. The cable management bar can be recess mounted by
using the mounting holes closest to the front of the fuse panel.
3/8-IN.
(9.53 mm)
12 - 24
THREAD
PAINT CUTTING, TAPPING SCREW,
PAN HEAD, COMBINATION DRIVE
16592-A
3/8-IN.
(9.53 mm)
6 - 32
THREAD
MACHINE SCREW, PAN HEAD,
PHILLIPS DRIVE
16593-B


