


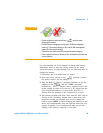
Maintenance 5
Agilent U1251A/U1252A User’s and Service Guide 99
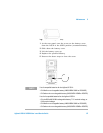
Use the specified 24 V DC adaptor to charge the battery.
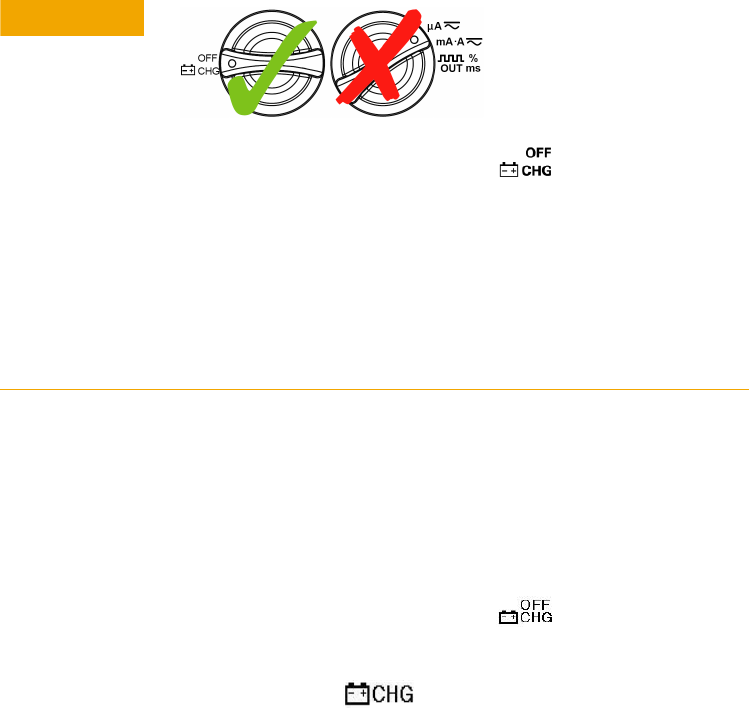
Remember never to turn the rotary switch of the meter
when the battery is being charged. Use the following steps to
charge the battery:
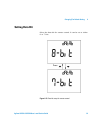
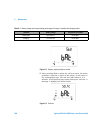
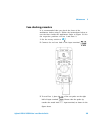
1 Disconnect the test leads from the meter.
2 Turn the rotary switch to the position. Connect
the power cord to the DC adapter.
3 Plug the Red (+)/ Black (–) banana terminals of the DC
adapter to the and the “COM” terminals
respectively. The DC adaptor can be replaced with a DC
power supply in order to set the 24 V DC output and the
over current limitation to a value more than 0.5 A.
Ensure that the polarity of the connection is correct.
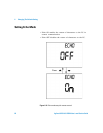
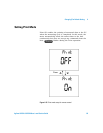
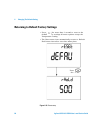
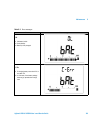
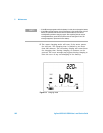
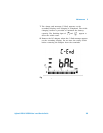
4 The primary display will show “bAt” and the ‘SbY” will be
shown on the secondary display and a short beep will
sound to remind you whether you need to charge the
battery. Press SHIFT to start charging the battery, or the
meter will automatically start the self-test after the 24 V
supply is applied. It is recommended that you do not
charge if the battery’s capacity is over 90%.
CAUTION
• Do not rotate the rotary switch from position when
charging the battery.
• Perform battery charging only with a 9 V Ni-MH rechargeable
battery (7.2 V nominal voltage) or 9 V size Ni-MH rechargeable
battery (8.4 V nominal voltage).
• Disconnect test leads from all the terminals when charging.
• Ensure proper insertion of battery in the multimeter and follow the
correct polarity.