BIOM34-EC Installation
INTRODUCTION
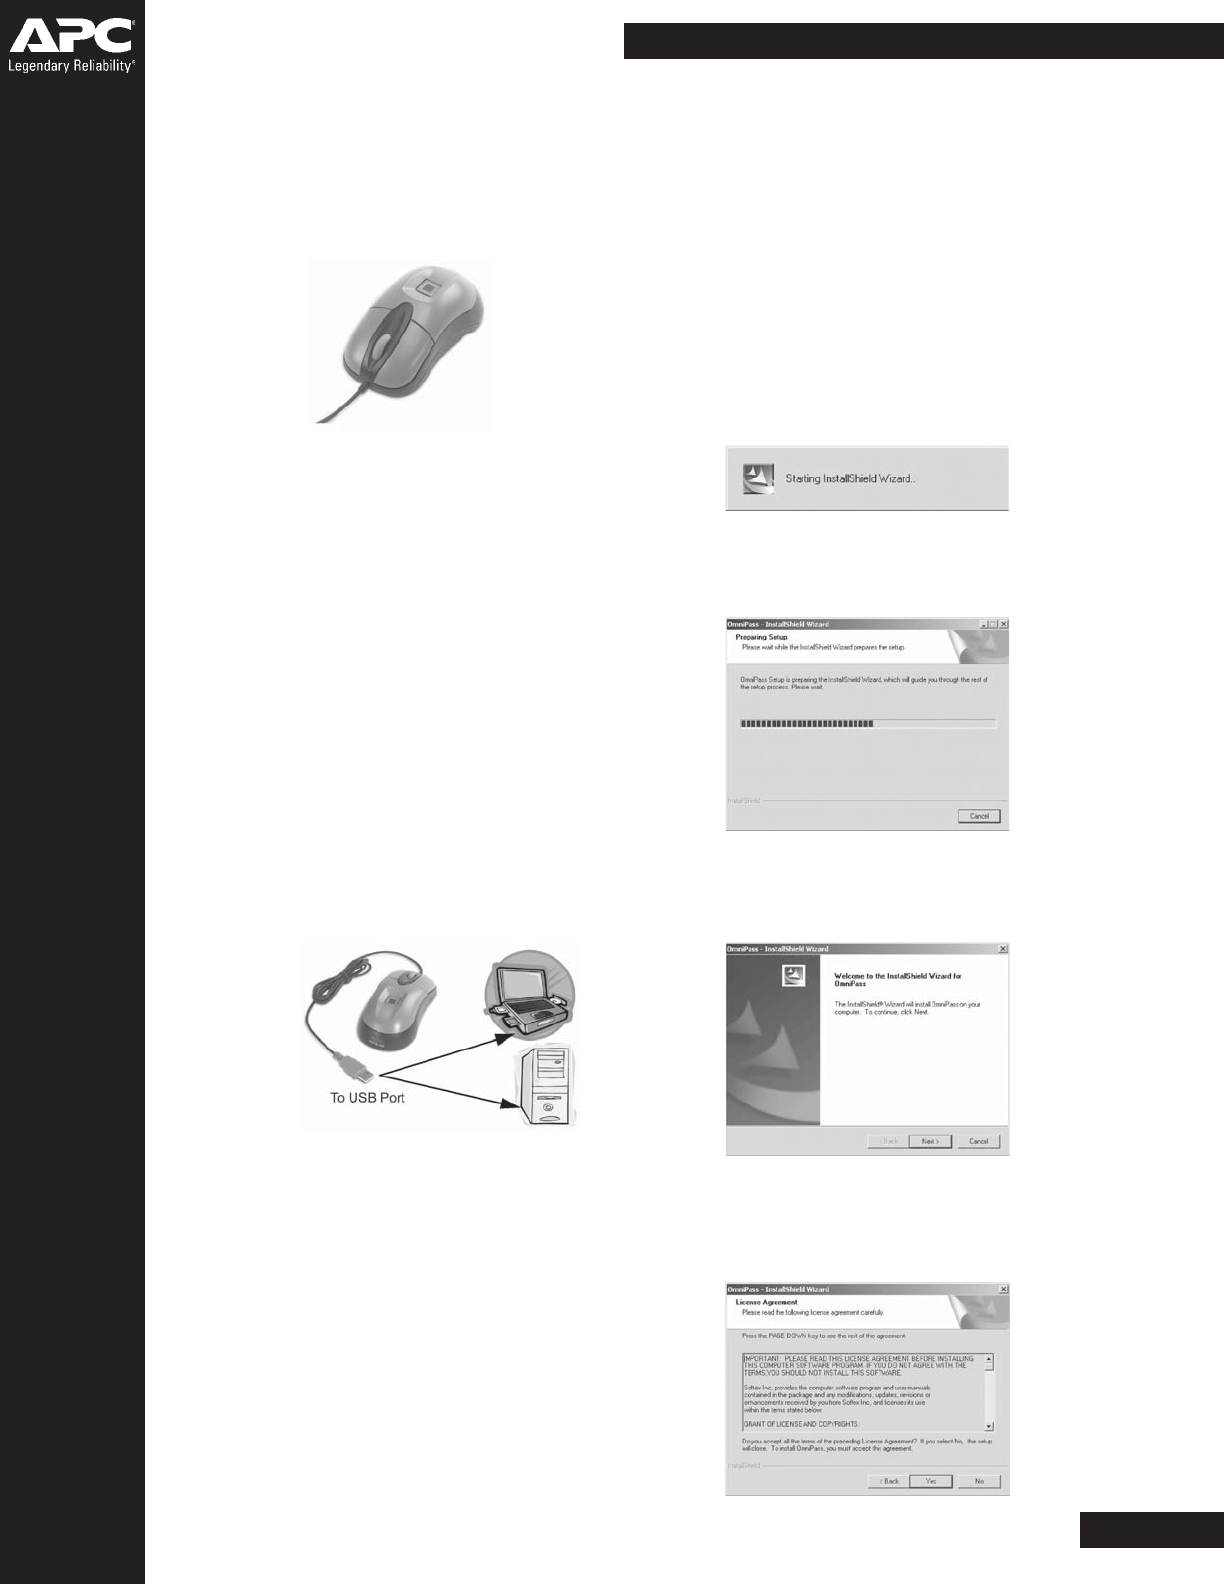
APCs’ Biometric Mouse Password Manager (BioM34, Figure
1) enables users to log on to a system or Internet website
simply by placing their fingertip on the Biometric Sensor. Use
the APC Biometric hardware and software to record and store
fingerprint identification for use when accessing password-
protected systems, applications, and web sites.
FEATURES
• Attached USB cable for easy connection to laptops and PCs
• Easy-to-use Master password for all types of Windows®
applications, and on-line passwords
• Compatible with Microsoft Passport®
• Support for Internet Explorer®
• Compatible with Windows XP® Credential Manager
• Yser-friendly graphical user interface (GUI) that is easy to
install, customize and use • Full Windows OS support
including Windows 2000®, and XP (Windows 95®, 98®, and
ME® are not supported)
• International language support
• TruePrintTM compliant
• Full-Function mouse with rotating scroll wheel.
Figure 1. The APC BioM34
Caution: Do not allow metal or sharp objects to contact
the sensor surface, as they could damage the unit.
SETUP
1. Connect the BioM34.
Note: Before connecting the BioM34, uninstall any previously
installed biometric hardware or related security software. To
connect the BioM34, plug it into the USB port (Figure 2) of your
laptop or CPU tower. You do not have to turn the computer off.
Figure 2. Connecting the BioM34
Note: Newer versions may have a
black USB plug.
2. Install the driver.
A. Insert the software CD.
B. The Found New Hardware Wizard screen appears. Select Next,
then select Search for a Suitable Driver; select Next.
C. Check the CD-ROM Drive’s check box only; select Next.
D. Once the driver is found, select Next to install it. The
Hardware Wizard sends a message once installation is
complete.
3. Install the APC OmniPass
®
software.
Note: If an earlier version of the Omnipass software is installed
on your computer, you should perform an Export User function
in order to maintain your current database of websites and
passwords.
Ensure to note your current User Name, Domain, and Password.
You will need this information in order to perform an Import
User function when restoring your database after the software
is installed. Please refer to the User Manual located on the
software CD for more indepth information.
During software installation, the software will search for, and
detect previous versions of the Omnipass software. If a previous
version of the software is installed, you must use the Uninstall
Software function in the computer’s Control Panel, or the Uninstall
Omnipass function - go to: Start/Programs/Softex/Uninstall
Omnipass. Once the previous version of the software has been
removed, you must restart your computer. Once the restart is
complete, either re-install the software CD into the computer,
or open the CD and double-click the Setup.exe icon. Advanced
users perform the following:
Start/Run/e://setup.exe.
A. Insert the APC OmniPass software CD into the CDROM
drive. The software will automatically start the installation
proces. Within a few seconds, the Starting InstallShield Wizard
screen will be displayed (Figure 3).
B. The software will then display the Preparing Setup screen
(Figure 4). During setup, a progress bar is displayed.
Figure 4. Preparing Setup Screen
Figure 3. Starting InstallShield Wizard Screen
C. Once the InstallShield Setup is complete, the software displays
the Welcome screen (Figure 5). Click Next to continue installation.
Figure 5. Welcome Screen
D. Once the Setup Preparation is complete, the software displays
the License Agreement screen (Figure 6). Please read the entire
agreement. If you agree to the terms, Click Yes to continue the
installation. If you disagree with its terms, click Cancel to stop.
Figure 6. License Agreement Screen
M.3
Biometric Password Managers


