


User’s Manual 53
C
ONFIGURING
W
INDOWS
NT S
YSTEMS
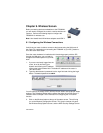
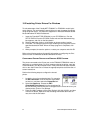
The configuration procedure for a Windows NT plat-
form is similar to that of Windows 95/98 except for the
difference in layout and terminology on the printer's
Properties screen.
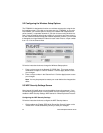
When installing the shared printer under Windows NT,
you will see the option Ports instead of Details
(Windows 95/98)
, and
Configure Port
instead of
Port
Settings (Windows 95/98).
C
ONFIGURING
W
INDOWS
2000 S
YSTEMS
Perform the following steps to install the print server software:
1. Connect the printer to be used as a network printer to the router’s Printer
port. You will need a standard parallel printer cable to connect the printer to
the router (sold separately).
2. Turn on the printer and verify that any self-test is performed satisfactorily.
3. Restart the router by turning its power off and then on. Verify that it passes
the self-test.
4. From the Windows
Control Panel
, double click the
Printers
icon.
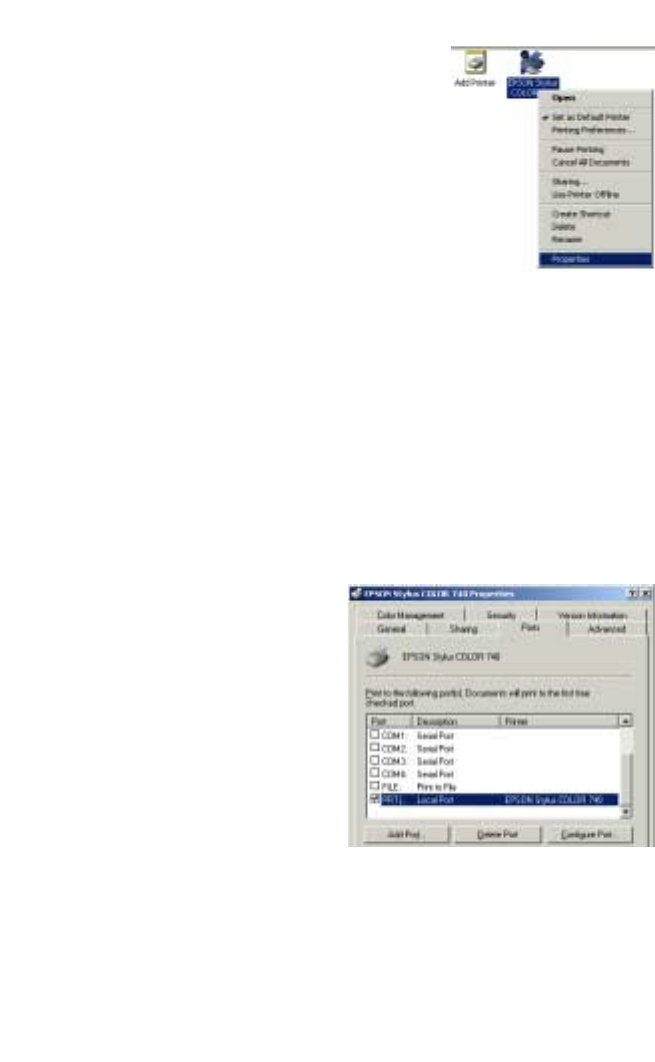
5. Highlight the icon of the printer that is connected to the router and click the
right mouse button. You should see a menu with a properties box in it. Left
click on
Properties
to open the Printer Properties dialog box.
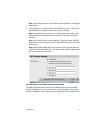
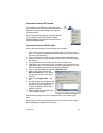
6. Click on the Sharing tab and select the Shared as option.
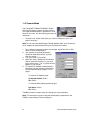
7. Click on the Ports tab. Select the
PRT Local Port
option. You should
see the name of your printer next to
this port.
8. Click on the
Configure Port…
but-
ton.
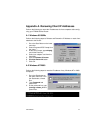
9. A printer address box will appear with
the address 192.168.123.254 (factory
default). If you have changed the
router's IP address, enter its new IP
address. Click OK.
10. Click the Apply button and then click
OK to close the window.
Repeat steps 4 through 10 on each computer that will use the router’s print
server.
Tip: Be sure to install the correct printer driver into the client’s Printer directory
before attempting to configure the print server.