


ASUS P5VD2-MX/P5V-VM DH 3-15
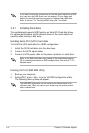
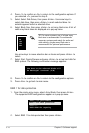
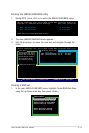
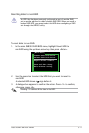
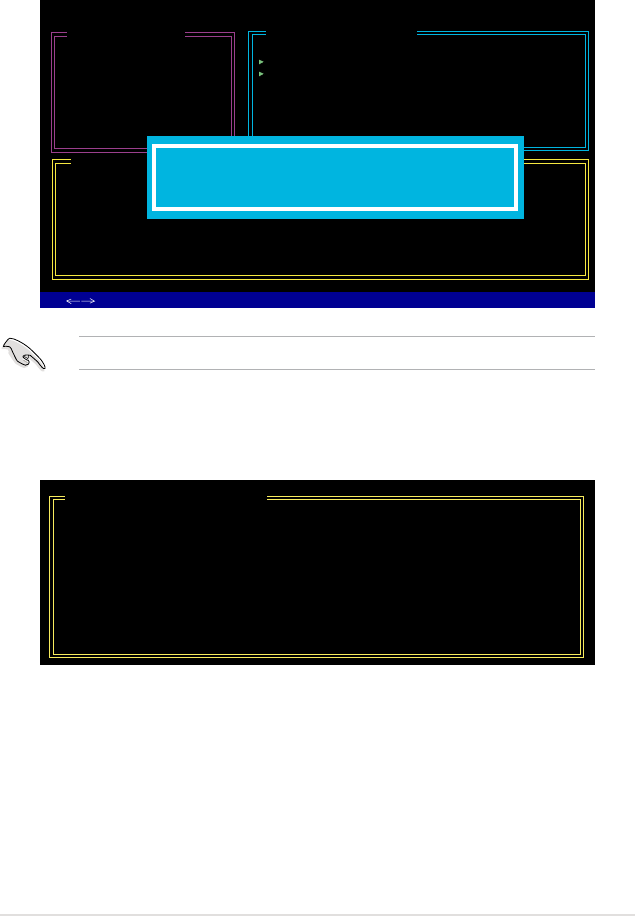
5. When done, press <Enter> to conrm the creation of the RAID set.
A dialogue box appears to conrm the action. Press <Y> to conrm;
otherwise, press <N>.
Pressing <Y> deletes all the data in the HDDs.
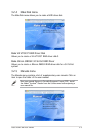
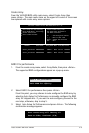
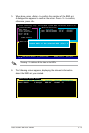
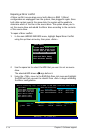
6. The following screen appears, displaying the relevant information
about the RAID set you created.
[RAID Disk Drive List]
Model Name RAID Level Capacity Status Members(HDDx)
RDD0: JRAID 0-Stripe XXX GB Normal 01
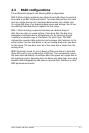
JMicron Technology Corp. PCI-to-SATA II/IDE RAID Controller BIOS v0.97
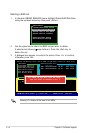
[Hard Disk Drive List]
Model Name Capacity Type/Status
HDD0: HDS722516VLSA80 164 GB Non-RAID
HDD1: HDS722516DLA380 164 GB Non-RAID
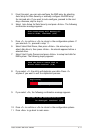
[RAID Disk Drive List]
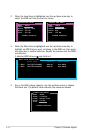
[Create New RAID]
Name: JRAID
Level: 0-Stripe
Disks: Select Disk
Block: 128 KB
Size : 319 GB
ConrmCreation
Create RAID on the selected HDD (Y/N)? Y
[
TAB]-Switch Window [↑↓]-Select Item [ENTER]-Action [ESC]-Exit