


2-22-2
2-22-2
2-2
Chapter 2: Basic installationChapter 2: Basic installation
Chapter 2: Basic installationChapter 2: Basic installation
Chapter 2: Basic installation
2.1 Preparation
2.2 Before you proceed
Take note of the following precautions before you install components into
the system.
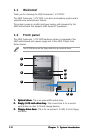
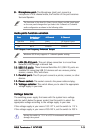
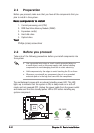
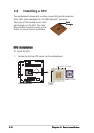
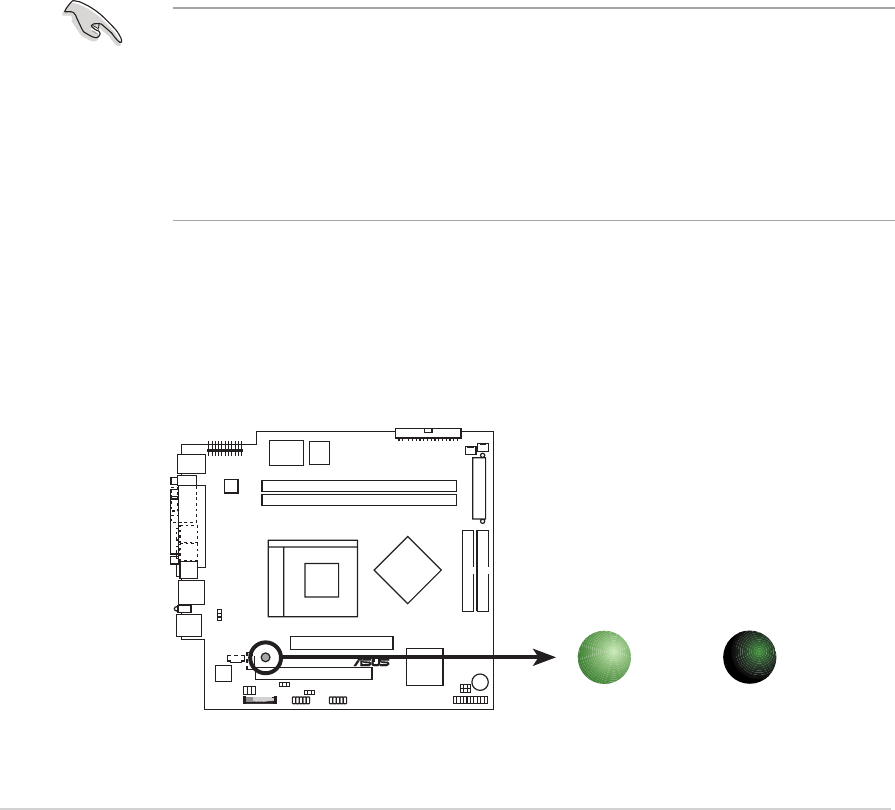
The motherboard comes with an onboard standby power LED. This LED
lights up to indicate that the system is ON, in sleep mode or in soft-off
mode, and not powered OFF. Unplug the power cable from the power outlet
and make sure that the standby power LED is OFF before installing any
system component.
• Use a grounded wrist strap or touch a safely grounded object or
a metal object, such as the power supply case, before handling
components to avoid damaging them due to static electricity.
• Hold components by the edges to avoid touching the ICs on them.
• Whenever you uninstall any component, place it on a grounded
antistatic pad or in the bag that came with the component.
Before you proceed, make sure that you have all the components that you
plan to install in the system.
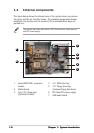
Basic components to installBasic components to install
Basic components to installBasic components to install
Basic components to install
1. Central processing unit (CPU)
2. DDR Dual Inline Memory Module (DIMM)
3. Expansion card(s)
4. Hard disk drive
5. Optical drive
ToolTool
ToolTool
Tool
Phillips (cross) screw driver
®
Onboard LED
SB_PWR
ON
Standby
Power
OFF
Powere
d
Off