Getting Started — Connecting a USB Floppy Disk Drive
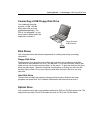
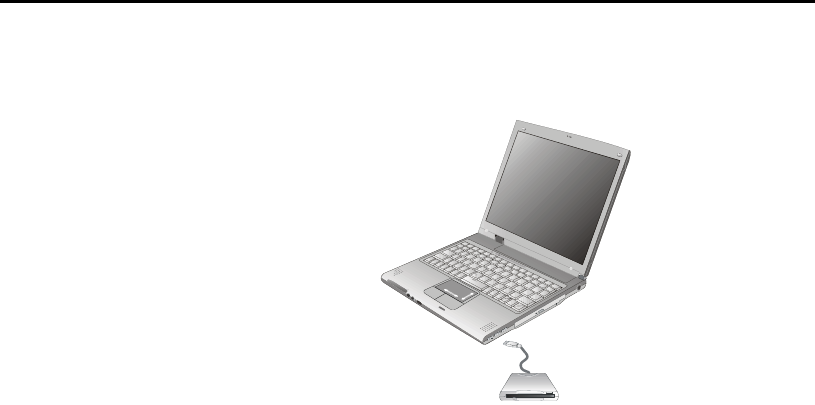
Connecting a USB Floppy Disk Drive
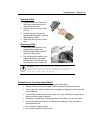
Your notebook computer
supports a USB 1.44 MB
floppy disk drive (must be
purchased separately). The
FDD is “hot pluggable,” so you
do not have to power down the
notebook to connect it.
Floppy disk drive
USB connector
Disk Drives
Your computer comes with several components for reading and writing (recording)
information.
Floppy Disk Drive
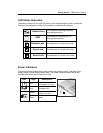
The floppy disk drive provides a convenient way of storing and transferring small files.
The disk drive uses standard 3.5-inch, 1.44 MB disks. To use the disk drive, insert a disk
(label side up) into the drive slot and slide it all the way in. To eject the disk from the drive,
press the eject button. When the computer is reading from or writing to a disk, the disk
indicator light will flash. Do not try to eject the disk when the light is active or you may
lose data.
Hard Disk Drive
The hard disk provides high-capacity storage and fast access. Windows and most
programs are stored here. Your notebook identifies the hard disk drive as drive C.
Optical Drive
Your computer comes with a pre-installed combination DVD and CD-RW optical drive. The
optical drive can read CD and DVD media and write to CD-R and CD-RW media.


