30/05/02 Document Systems Support V1.0
8
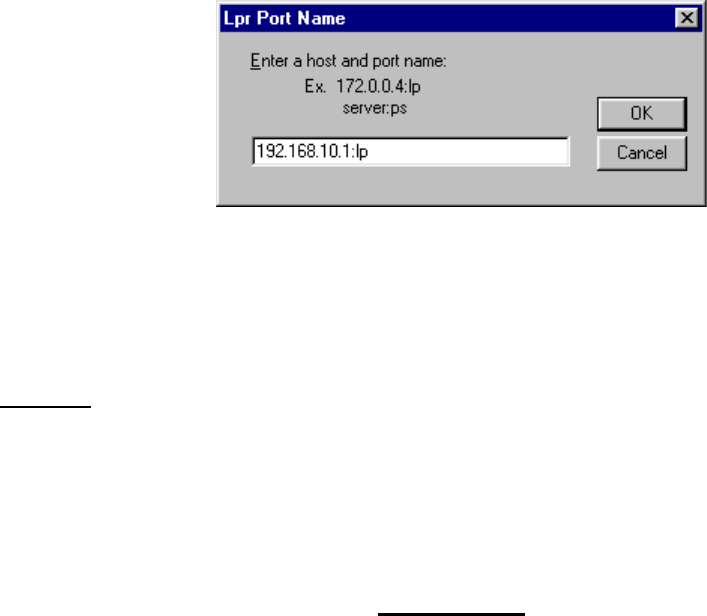
27. Enter the TCP/IP address of the copier then type a colon: and then lp
(lowercase no spaces). Just like in the example shown below:
28. Now click on the “general” tab and choose “print a test page”
29. The DP unit should produce a standard test page confirming that everything
has been set up. It will also display a list of the files used.
Stage 3
Operating Instructions
30. For comprehensive operating instructions, please refer to the manual, which
can be found on the CD that came with your unit.
Problems?
No Network Connection
1. Check the obvious things; is the unit switched on and “on-line” (the on-line light
should be on, if it isn’t press the “Printer” key on the left side of the copier
dashboard and then press “on-line”. The copier should bleep to confirm.
2. Check the cable connections and if possible use a known good cable and
network port.
3. Have you programmed the IP address of the copier, Sub-Net and Gateway
correctly? Please refer to the start of the installation procedure to double-check
this.
4. Even if you don’t have a Gateway, an address must be inputted. Choose a spare
IP address for the Gateway if required.
5. Have you properly configured the LPR port on your PC? Again, refer to the start
of this guide to check this.
6. Where you plug the network cable into the back of the copier, do you have a
green “link light” showing. If not try an alternative network port. If you do not
get a green link light, please contact your Dealer for further assistance.


