Page 9
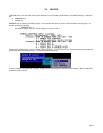
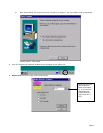
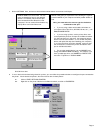
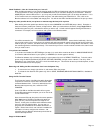
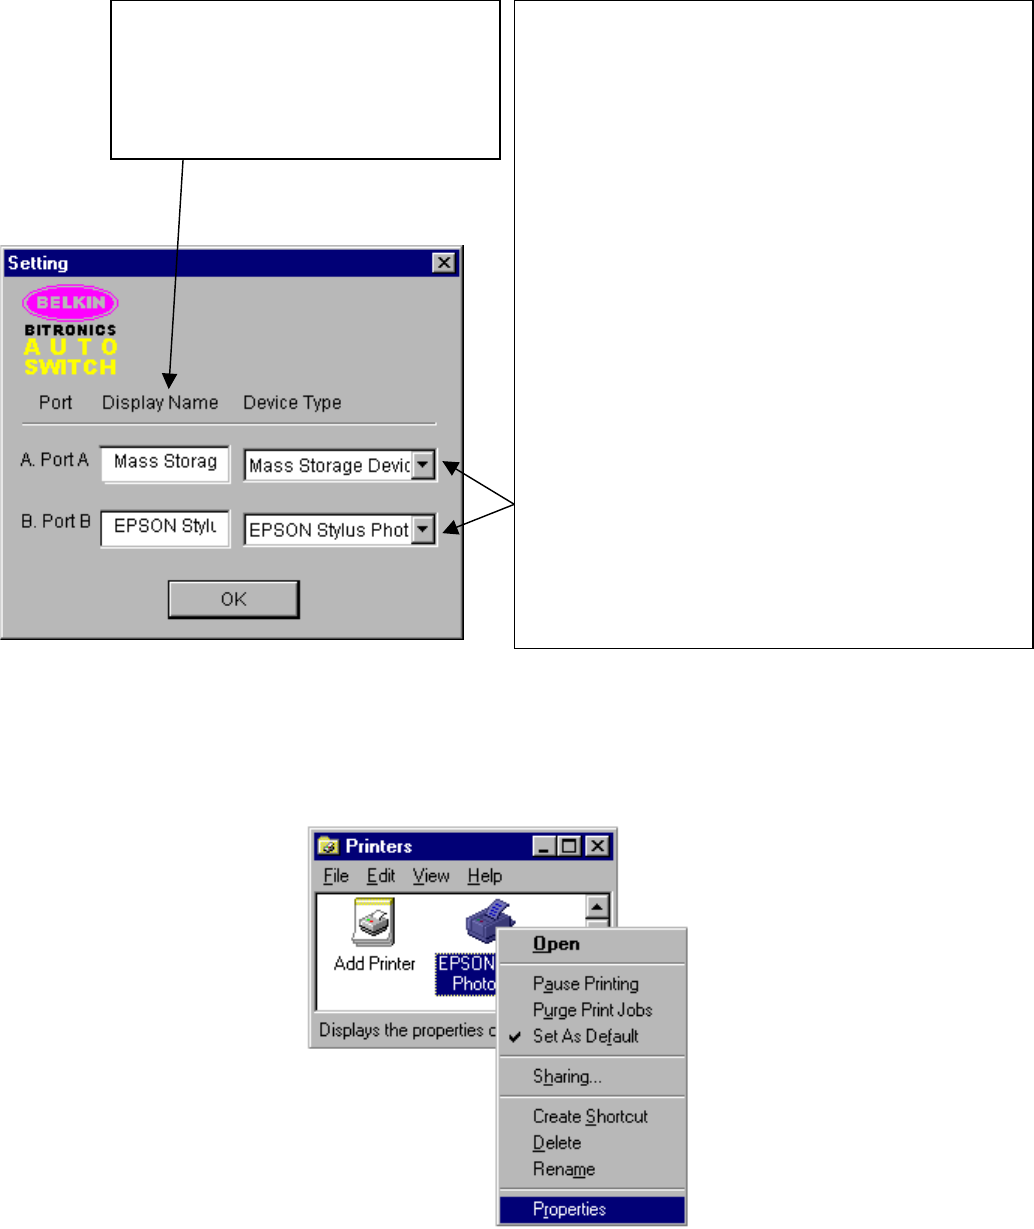
7. Click on SETTINGS. Here, we have to tell the software what devices are connect to which port:
Click OK when done.
8. If one or both of the devices being shared is a printer, you must follow the procedure below to reconfigure the port connected to
the printer. If both devices are printers, then this must be done for both printers.
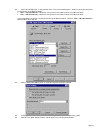
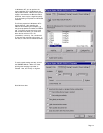
8.1. Click on START, SETTINGS, PRINTERS.
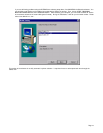
8.2. Right-click on the printer installed on the Bitronics switch, and click on PROPERTIES:
DISPLAY NAME is a free text field. You can
enter any description here for the attached
devices. For instance, Port A has the Zip
drive connected and Port B has the InkJet
connected. You can rename these fields to say
“My Zip Drive” and “Color Printer #2”.
DEVICE TYPE gives you a pull-down menu showing the types of
printers installed on your computer and other parallel devices as
well.
Here, you must select the correct type for the device
connected to that port.
• If you are using a device which adds a drive letter to
your system (like a Zip Drive, CD-ROM, LS-120, etc...), use
MASS STORAGE DEVICE.
• If you are using a printer, use the printer driver used
for that particular printer on that port of the Bitronics switch.
If it does not show up in this menu, that means the printer
drivers have not been installed. (If not, reinstall the printer
drivers and repeat this step after rebooting your computer.)
If you have more than one printer installed, make sure that
the correct driver is used for the printer connected to that
port on the Bitronics switch.
• For any other parallel device, just use SCANNER, and
change the DISPLAY NAME accordingly. For example, if you
have a parallel tape drive, use SCANNER for DEVICE TYPE,
then enter “Tape Drive” in DISPLAY NAME.


