


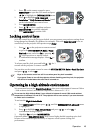

Operation42
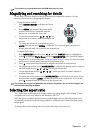
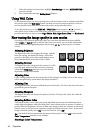
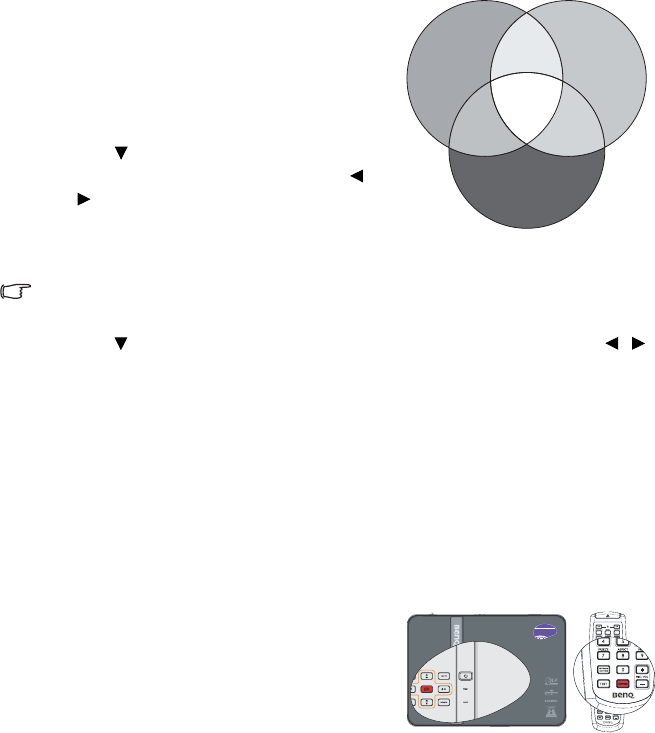
Please refer to the illustration to the right for
how the colors relate to each other.
For example, if you select Red and set its
range at 0, only pure red in the projected
picture will be selected. Increasing its range
will include red close to yellow and red close
to magenta.
5. Press to highlight Saturation and adjust
its values to your preference by pressing /
. Every adjustment made will reflect to the
image immediately.
For example, if you select Red and set its
value at 0, only the saturation of pure red will be affected.
Saturation is the amount of that color in a video picture. Lower settings produce less
saturated colors; a setting of “0” removes that color from the image entirely. If the
saturation is too high, that color will be overpowering and unrealistic.
6. Press to highlight Gain and adjust its values to your preference by pressing / .
The contrast level of the primary color you select will be affected. Every adjustment
made will reflect to the image immediately.
7. Repeat steps 3 to 6 for other color adjustments.
8. Make sure you have made all of the desired adjustments.
9. Press MENU/EXIT to exit and save the settings.
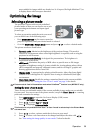
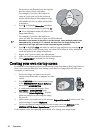
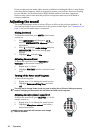
Creating your own startup screen
In addition to selecting the projector preset startup screen from among BenQ logo, Black or
Blue screen, you can make your own startup screen that is an image projected from your
computer or video source.
1. Project the image you want to use as your
startup screen from either a computer or video
source.
2. Press CAPTURE on the remote control or go
to the SYSTEM SETUP: Basic > MyScreen
menu, press MODE/ENTER.
3. A confirmation message displays. Press
CAPTURE or MODE/ENTER again.
4. The message 'Screen Capturing...' displays
while the projector is processing the image.
Please wait.
5. If the action is successful, you see the message 'Captured Succeeded' on the screen. The
captured image is saved as MyScreen.
6. To view the captured image displayed as the startup screen, set MyScreen in the
SYSTEM SETUP: Basic > Splash Screen menu and restart the projector.
In the unlikely event, the capturing action failed. If so, change your target image.
RED
BLUE
GREEN
Yellow
Cyan
Magenta