30
Important safety instructions
5. Press to highlight a picture mode that is closest to your need and press MODE/ENTER and
MENU/EXIT to go back to the User Mode Management page.
6. Here you can rename the User 1, User 2, or User 3 mode by pressing to highlight Rename
User Mode and press MODE/ENTER. The Rename User Mode page displays.
7. Press / / / until your desired character is selected and press MODE/ENTER.
8. Press MENU/EXIT to go back to the main menu once you are done.
9. Press to select a sub-menu item to be changed and adjust the value with / . See "Fine-tuning
the picture quality" on page 30 and "Advanced picture quality controls" on page 32 for details.
10. When all settings have been done, press MENU/EXIT to save and leave the settings.
Resetting the picture mode
All of the adjustments you’ve done in the Picture -- Basic menus can be returned to the factory preset
values with a key press on the highlight of Reset.
To reset the picture mode to the preset factory values:
1. In the Picture -- Basic menu, highlight Preset Mode and press / to select the picture mode
(including User 1, User 2, or User 3) you want to reset.
2. Press to highlight Reset Picture Settings and press MODE/ENTER. The confirmation message
displays.
3. Press / to highlight Reset and press MODE/ENTER. The picture mode will return to the
factory preset settings.
4. Repeat steps 1-3 if you want to reset other picture modes.
Do not to be confused with the Reset Picture Settings function here with the Reset All Settings in the
Advanced Setup menu. The Reset All Settings function returns most of the settings to the factory preset
values system wide. See "Reset All Settings" on page 50 for details.
Fine-tuning the picture quality
No matter what picture mode you have selected, you are able to fine-tune those settings to fit every
presentation purpose. Those adjustments will be saved to the preset mode you are at when you exit the
OSD menu.
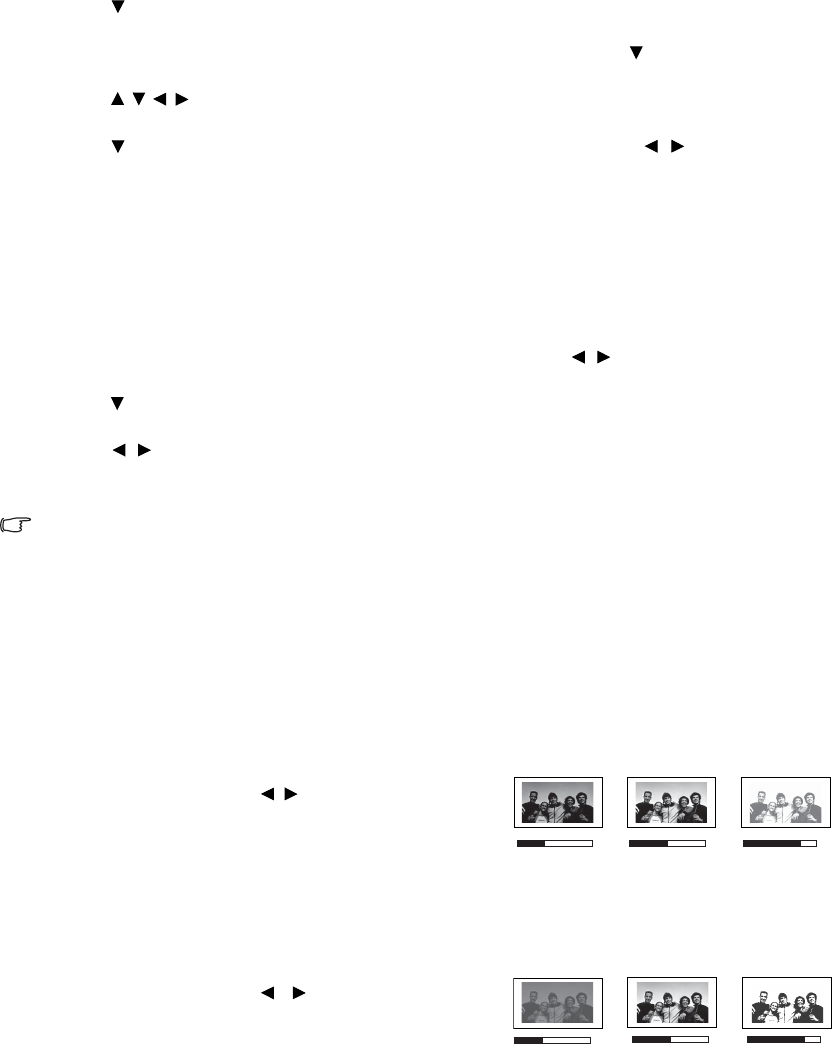
Adjusting Brightness
Highlight Brightness in the Picture -- Basic menu and
adjust the values by pressing / on the projector or
remote control.
The higher the value, the brighter the picture. And the
lower the setting, the darker the picture. Adjust this
control so the black areas of the picture appear just as black and that detail in the dark areas is visible.
Adjusting Contrast
Highlight Contrast in the Picture -- Basic menu and
adjust the values by pressing / on the projector or
remote control.
The higher the value, the greater the contrast. Use this to
set the peak white level after you have previously adjusted
the Brightness setting to suit your selected input and viewing environment.
30 50 70
30 50
70
