


PaperJet 55 user guide – Edition 3 – 10.10.01
13
10 Set the date and time
The current date and time will be printed
on every fax page you send.
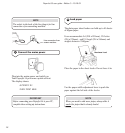
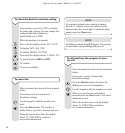
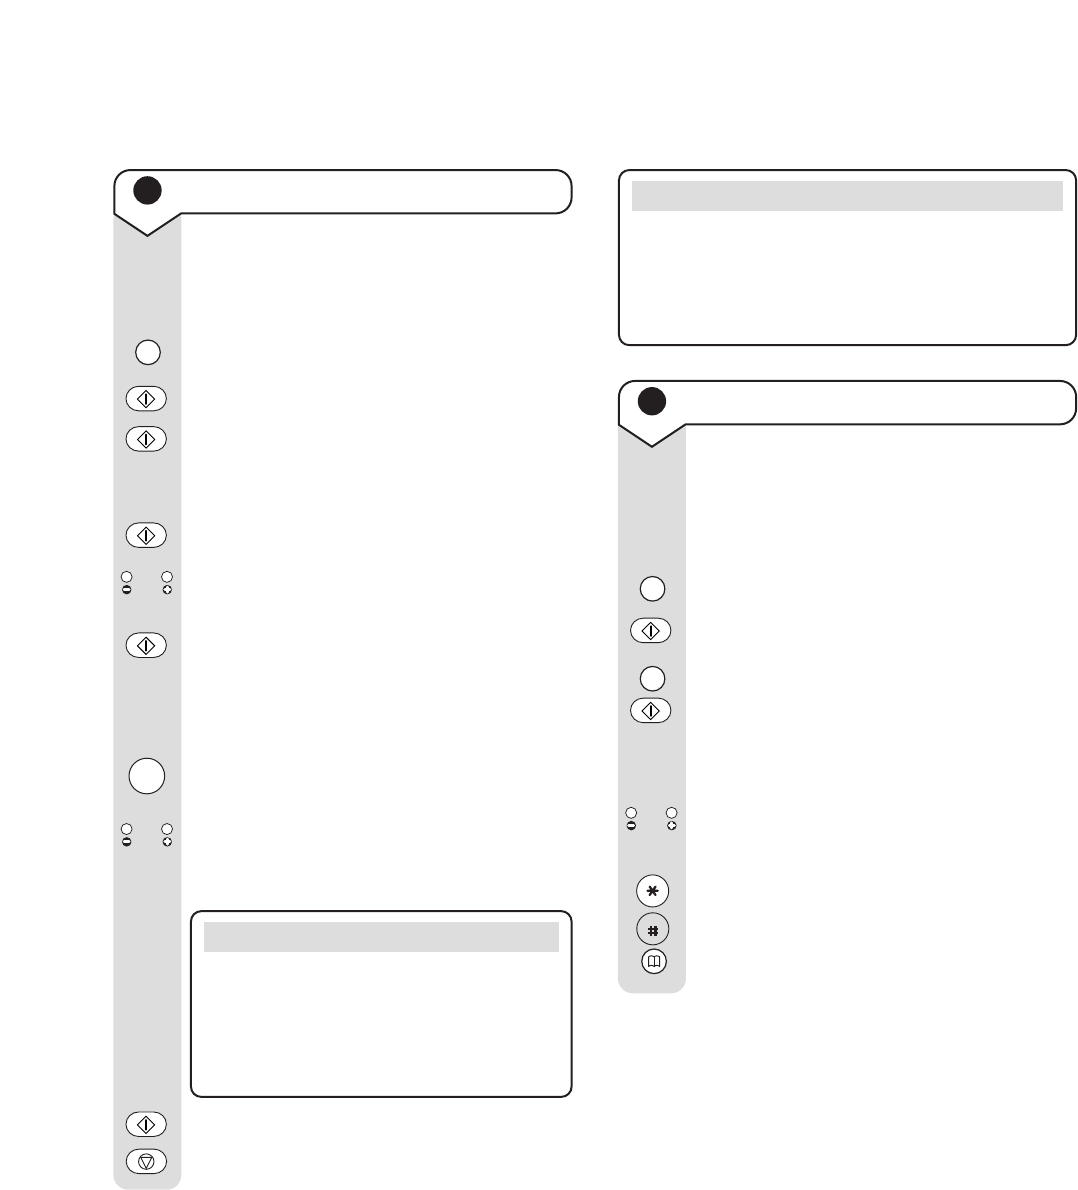
Press the Function button until the display
shows
FAX SET UP
Display shows
DATE AND TIME
Display shows
FORMAT: DD/MM/YY
You can select a different format by pressing
the < > buttons.
Display shows
FORMAT: 24H
Press the < > buttons to switch between the
24 hour clock and the 12 hour clock formats.
Display shows
DD/MM/YY HH:MM
21 06 00 09 22
The cursor flashes on the first digit of the
date.
Enter the new date and time. Each time you
enter a digit the cursor moves on automatically.
Press the < > buttons to move the cursor
backwards and forwards if you need to
re-enter a digit.
Press to confirm the new date and time.
To return to standby.
0
-
9
NOTE
If you have selected the 12 hour clock, the
letter
p
for pm or
a
for am is displayed.
To display the correct
p
or
a
setting, press
the FUNCTION button when the cursor is
flashing on the
p
or
a
.
NOTE
You can stop any procedure and return your
PaperJet 55 to standby at any time by pressing STOP.
If you do not press any button on your PaperJet 55
for 2 minutes it will automatically return to standby.
11
Enter your name and fax number
Your name and number will be added to
every fax page you send. You can enter a
maximum of 16 characters and 20 digits.
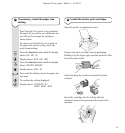
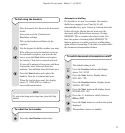
Press the Function button until the display
shows
INSTALLATION
Display shows
TEL. LINE SET-UP
Press twice. Display shows
STATION NAME
Display shows
TYPE YOUR NAME
Press the buttons to enter your name up to
a maximum of 16 characters.
Press the < > buttons to move the cursor
to the character you want or to insert a
space.
Press the
✱
and
#
buttons to enter different
symbols such as ‘&’.
Press the Clear button to delete entries.
A-Z
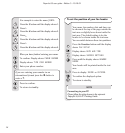
Volume
ᮤ
ᮤ
Volume
ᮤ
ᮤ
Volume
ᮤ
ᮤ
F
Function
Start
Start
Start
Start
Start
Stop
F
Function
Start
F
Function
Start
&...
Clear