Loading documents and paper
11
2
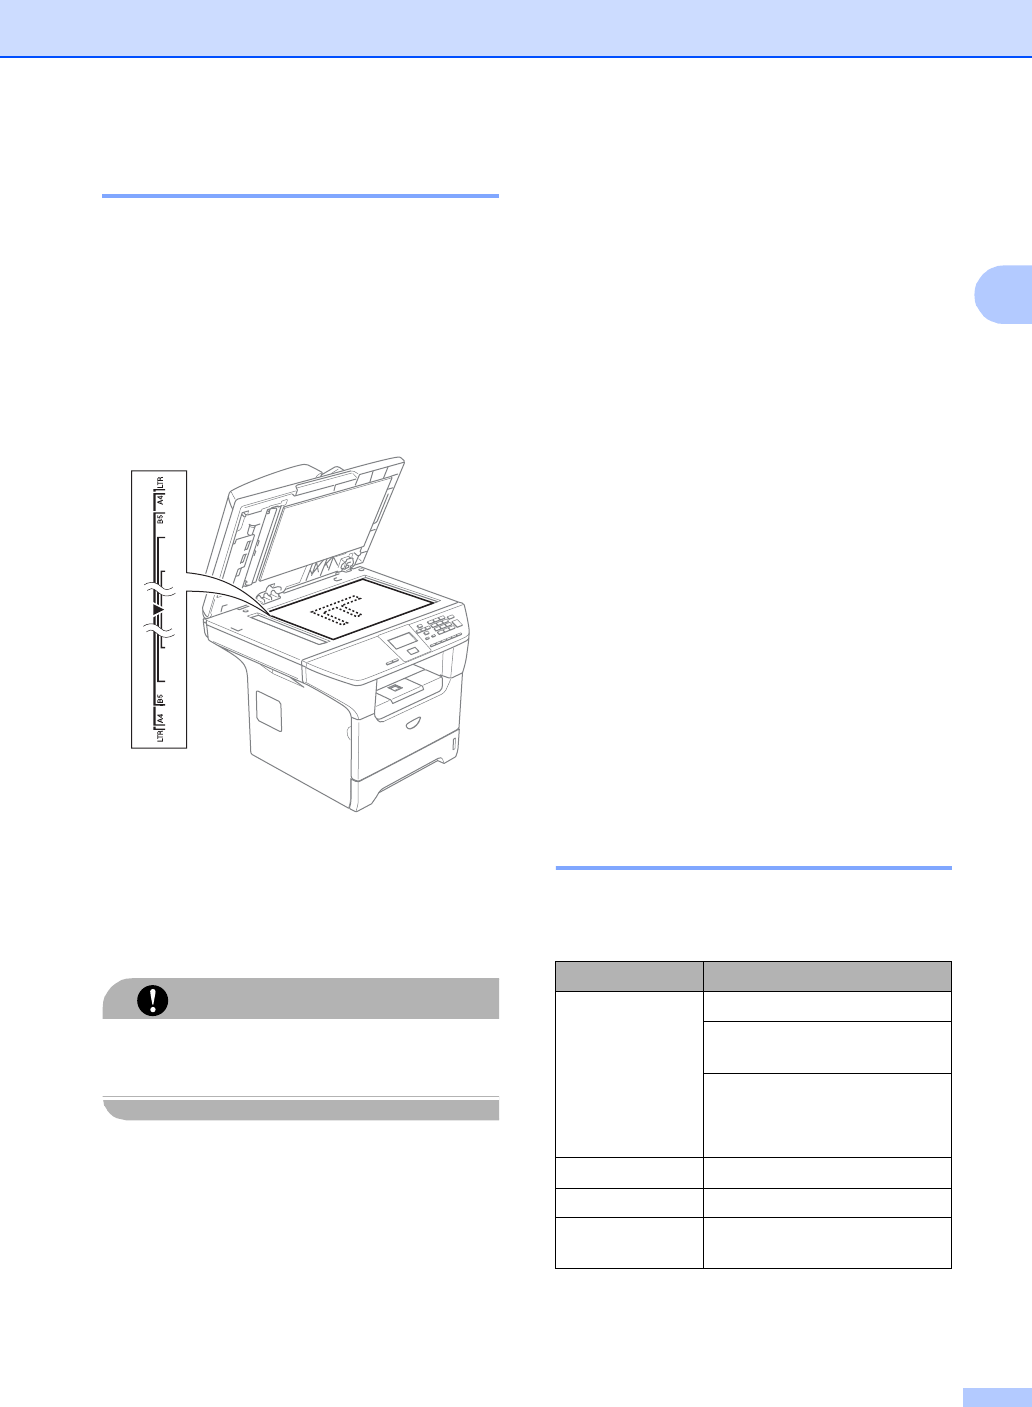
Using the scanner glass 2
You can use the scanner glass to scan or
copy the pages of a book or single sheets of
paper. Documents can be up to 8.5 inches
wide and up to 14 inches long (215.9 mm
wide to 355.6 mm long).
To use the scanner glass, the ADF must be
empty.
a Lift the document cover.
b Using the document guidelines on the
left, center the document face down on
the scanner glass.
c Close the document cover.
CAUTION
If the document is a book or is thick, do not
slam the cover or press on it.
Acceptable paper and
other media 2
Print quality may vary according to the type of
paper you are using.
You can use the following types of media:
plain paper, transparencies, labels or
envelopes.
For best results, follow the steps below:
Use paper made for plain paper copying.
Use paper that is 20 to 24 lb (75 to
90 g/m
2
).
Use labels or transparencies which are
designed for use in laser printers.
When using transparencies remove each
sheet immediately to prevent smudging or
paper jams.
Avoid touching the printed surface of the
paper immediately after printing.
Use long grain paper with a neutral Ph
value, and a moisture content of approx.
5%.
Recommended media 2
To get the best print quality, we suggest using
the following paper.
Paper Type Item
Plain paper Xerox 4200DP 20 lb
Hammermill Laser Paper 24
lb
(Xerox Premier 80g/m
2
)
(Xerox Business 80 g/m
2
)
(M-real DATACOPY 80 g/m
2
)
Recycled paper (Xerox Recycled Supreme)
Transparency 3M CG 3300
Labels Avery laser label #5160
(Avery laser label L7163)


