


GT-3 Series
7. Troubleshooting
116
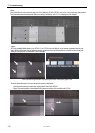
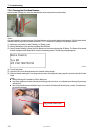
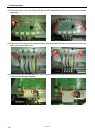
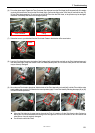
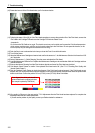
(12) Remove the plastic cover on the Carriage PCB. Disconnect the white cable (left) and remove the four claws on the both
edges (right).
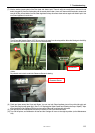
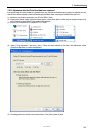
(13) Remove the silicone tubes that are attached the screws under the Carriage PCB (left), and remove the holes of the cover
(right), and remove the plastic cover.
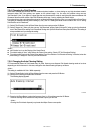
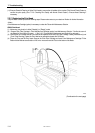
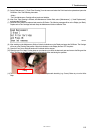
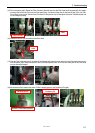
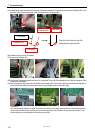
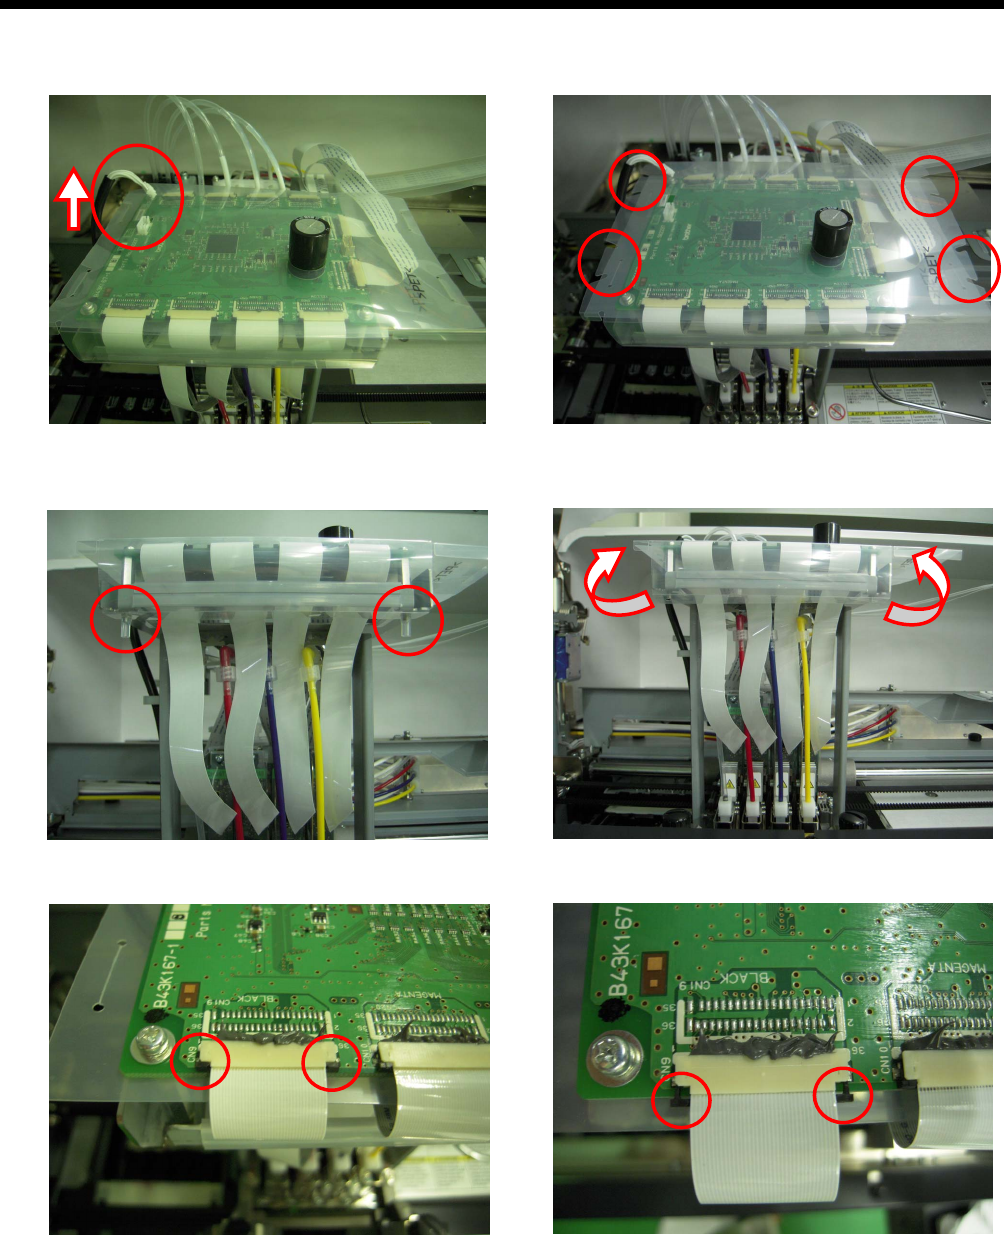
(14) Pull out the black tabs at the both edges of Flat Cable of the Print Head to the front side of the printer, and remove the Flat
Cable (the following example: Magenta).