


GT-3 Series
7. Troubleshooting
121
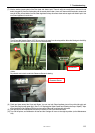
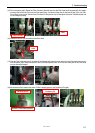
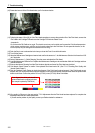
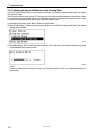
(6) Put on the gloves again. Rotate the Tube Connector (the white part over the Print Head) by 90 degrees (left), lift it straight
up slowly and remove the Tube from the Print Head (right). Connect the fitting to the Tube, that you removed in step (10)
in Color Print Head operations. Do not force to pull out the Tube from the Print Head, or the junction may be damaged.
Rotate the Tube little by little and move it straight up slowly.
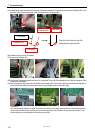
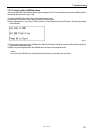
(7) Rotate the Lever to your side that fixes the Print Head. Rotate to the direction of the arrow below.
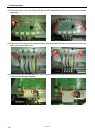
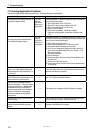
(8) Lean the Print Head forward to the inside of the Carriage (left), hold the Knob and pull up the Print Head and remove it
from the printer (right). Keep the surface of the Print Head (Nozzles) safe, do not touch to other parts or the Print Head
may be seriously damaged.
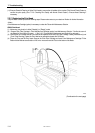
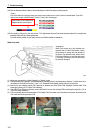
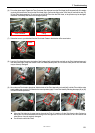
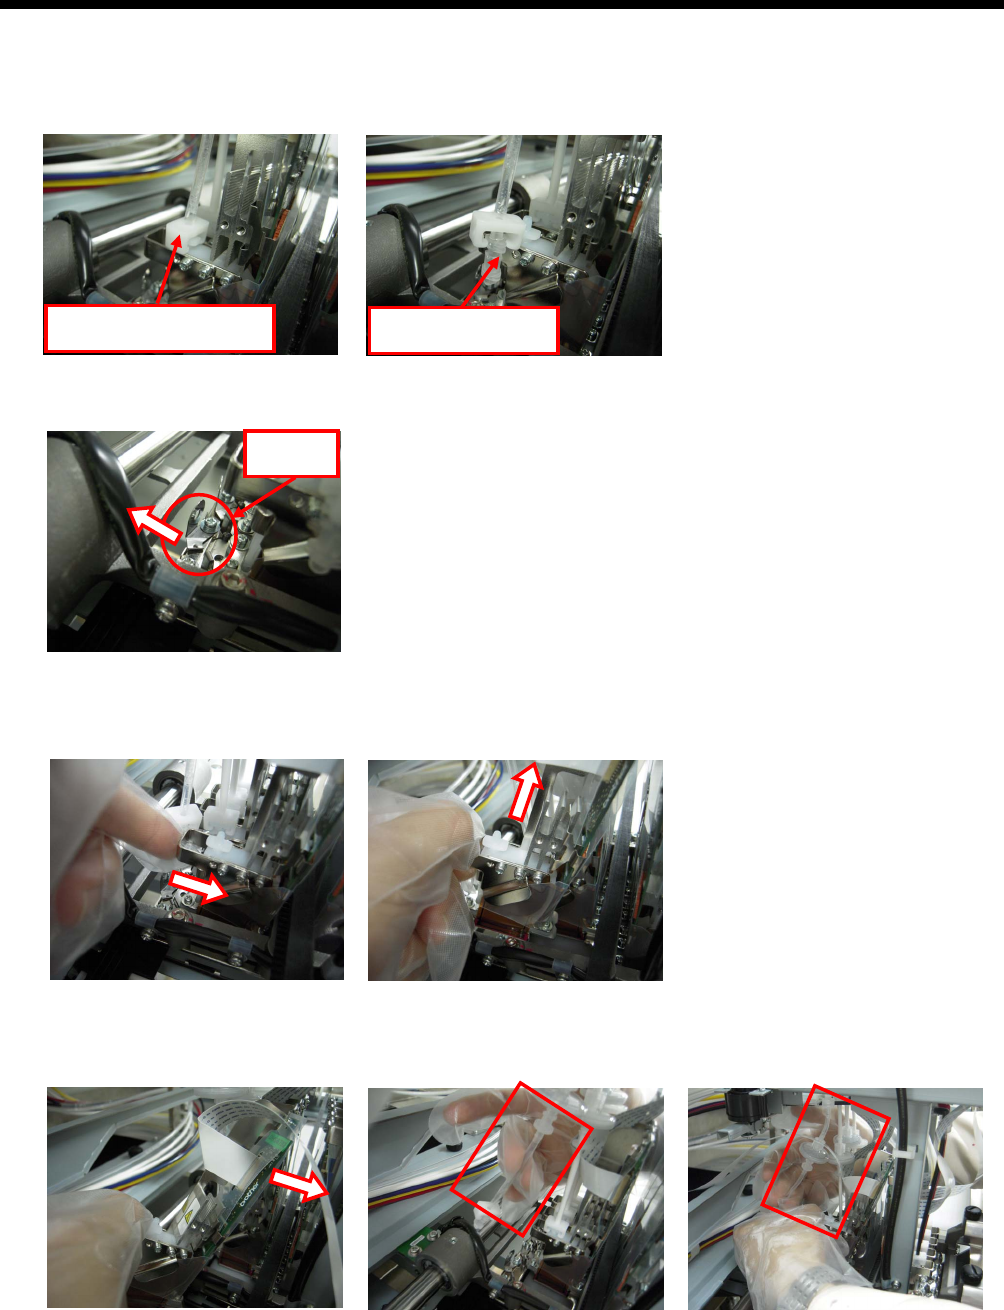
(9) Mount the new Print Head to the printer. Hold the knob of the Print Head with one hand (left), hold the Tube with the other
hand (middle) and move the Print Head to the mount position (right). Fix the Print Head by following the steps (18) to (20)
in Color Print Head operations.
z Move the Print Head by its upper part go through the Tube. It is easier to fix the Print Head on the Carriage by
leaning the Print Head backward and moving it from the upper left. Do not hit the surface of the Print Head to the
other parts or it may be seriously damaged.
z Do not break or bend the Tubes.
Tube Connector
Fitting
Lever
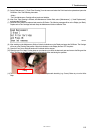
<Note>