


III-16
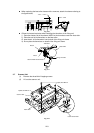
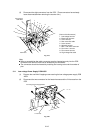
Note:
When re-assembling the drive unit, ensure that you fit the drive unit underneath the
electrode DRB1.
When disassembling the drive unit, be sure to remove the eight ferrite cores of two
types on the heater harness and the motor harness. (Refer to the figures in the
previous page, Fig. 3-26 and Fig. 3-27.) The place where the bigger core should be
assembled varies depending on the model.
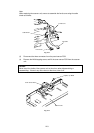
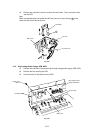
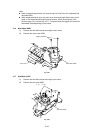
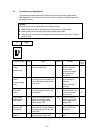
3.16 Main Motor ASSY
(1) Remove the two M3x6 screws securing the main motor.
(2) Remove the main motor ASSY.
Fig. 3-28
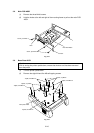
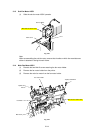
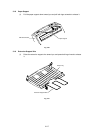
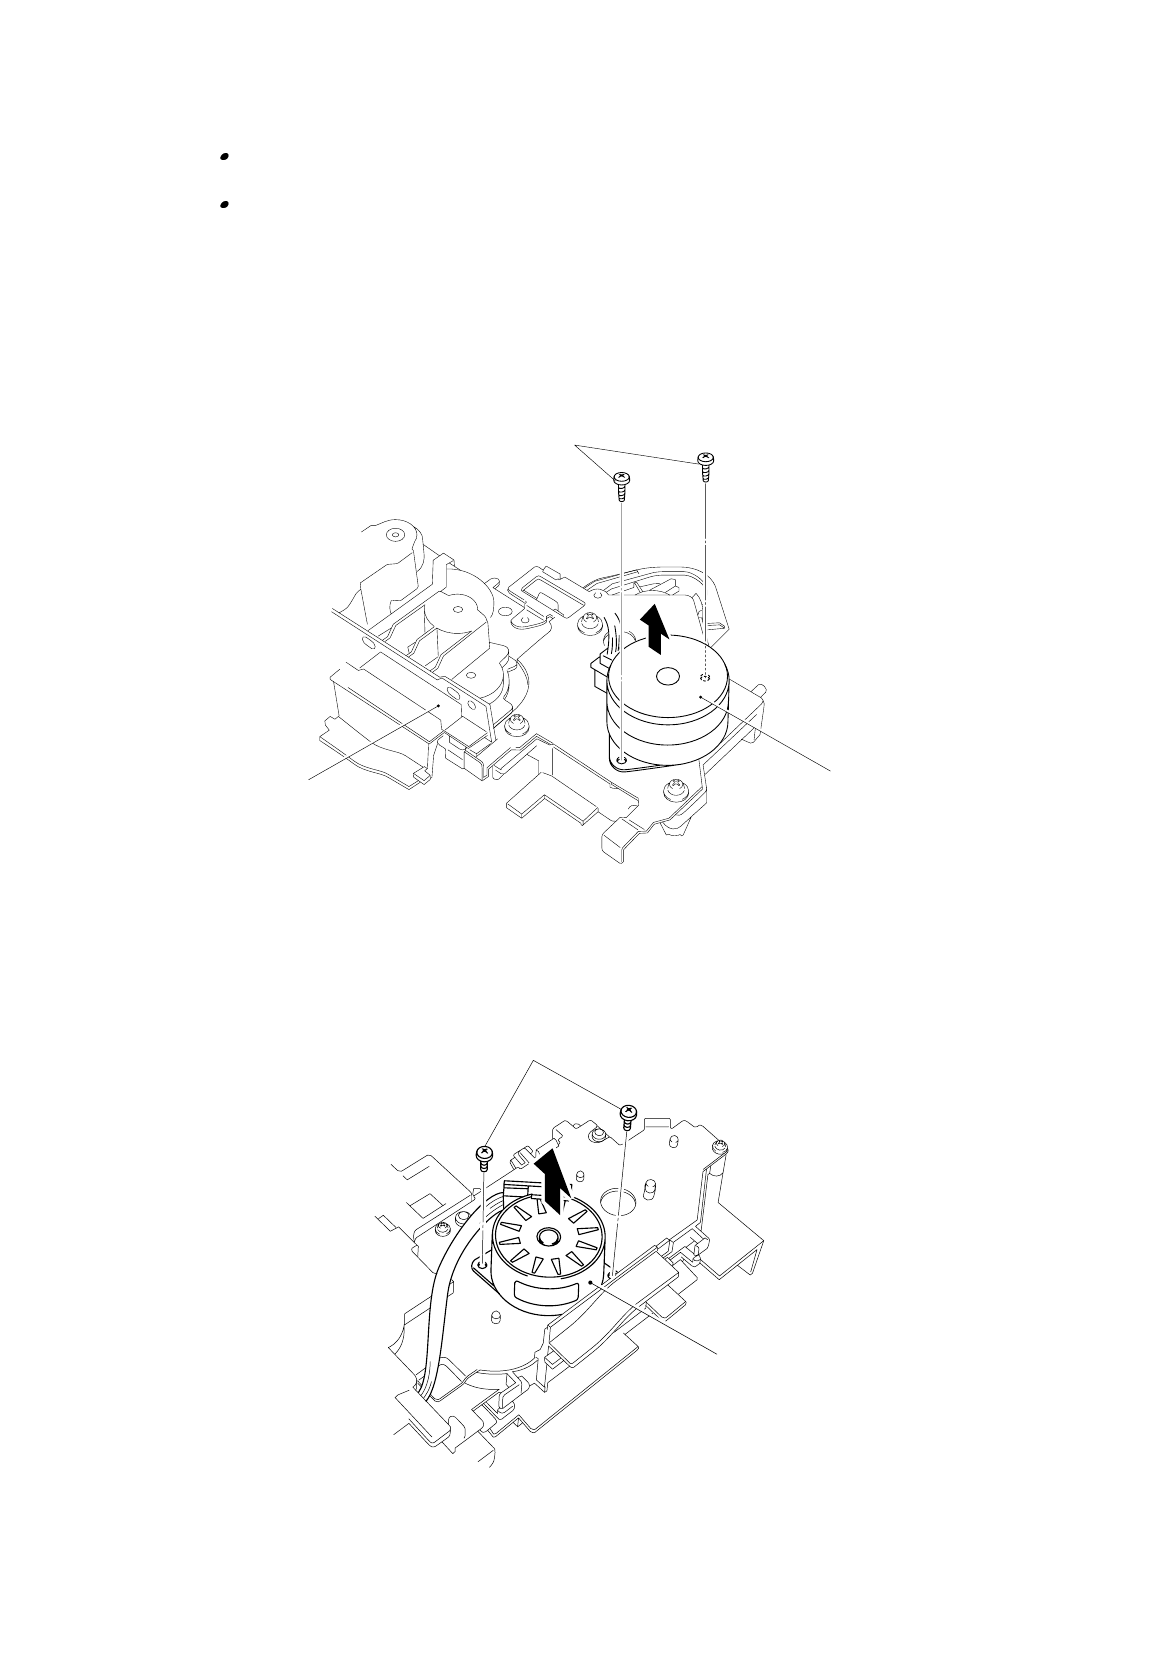
3.17 Sub Motor ASSY
(1) Remove the two M3x6 screws securing the sub motor.
(2) Remove the sub motor ASSY.
Fig. 3-29
Main Motor ASSY
Taptite, bind M3x6
Drive Unit
Sub Motor ASSY
T
p i in M x