


13
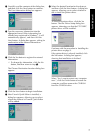
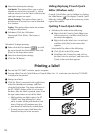
5 Double-click the P-touch Editor 3.1 Installer
icon in the folder. The installer starts up.
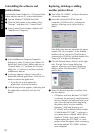
6 Select the installation method.
Clicking the Install button immediately starts
installing the most basic options. (Some clip
art illustrations are not installed.)
About 30 MB of available hard-disk space is
needed to begin installation.
In order to install all options, about
120 MB of available hard-disk space is
needed. If enough hard-disk space is
available, click the Install button.
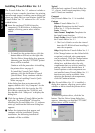
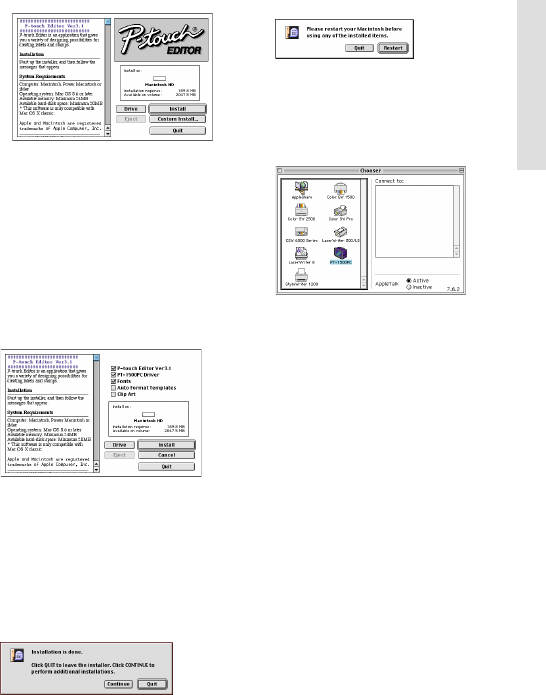
Clicking the Custom Install button displays a
dialog box that allows you to select which
options to install.
Only the options with a check mark beside
them are installed. Select the options that
you wish to install, and then click the Install
button to begin installation.
In order to print from the PT-1500PC,
“PT-1500PC Driver” must be selected for
installation.
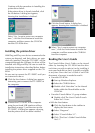
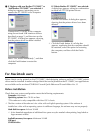
7 When the installation is finished and the
following dialog box appears, click the Quit
button.
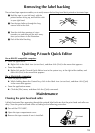
8 When the dialog box appears asking if you
wish to restart the computer, click the Restart
button to restart the computer.
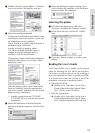
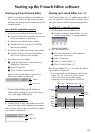
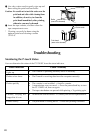
Selecting the printer
1 Pull down the Apple menu and select
“Chooser” to display the Chooser window.
2 In the list on the left, click the PT-1500PC
icon.
3 Close the Chooser window to confirm your
settings.
Reading the User’s Guide
The P-touch Editor User’s Guide can be viewed
either by inserting the CD -ROM into the drive
each time you wish to refer to it or by installing it
onto your hard disk so that it is quickly available
at any time. Since the User’s Guide is an HTML
document, a browser is needed to read it.
• From the CD-ROM:
Double-click “Main.htm” in the User’s
Guide folder within the P-touch Editor
Ver3.1 folder on the CD-ROM.
• With the Start button:
Double-click “Main.htm” in the User’s
Guide folder within the P-touch Editor
Ver3.1 folder installed on the hard disk.
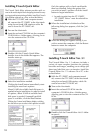
For Macintosh