88
Setting Up the Send Feature
Setting up the Send Feature
Setting Up the Scan to USB Feature
To use the Scan to USB feature, settings such as the network connection are not required. For details on
how to use this feature, see “Using the Scan to USB Feature,” ( P. 30).
Setting Up the Scan to File Server Feature
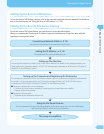
To use the Scan to File Server feature, you need to set it up as described below.
After you complete the “Checking an IP Address” step, see the Reference Guide that came with this
machine to continue the setup.
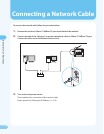
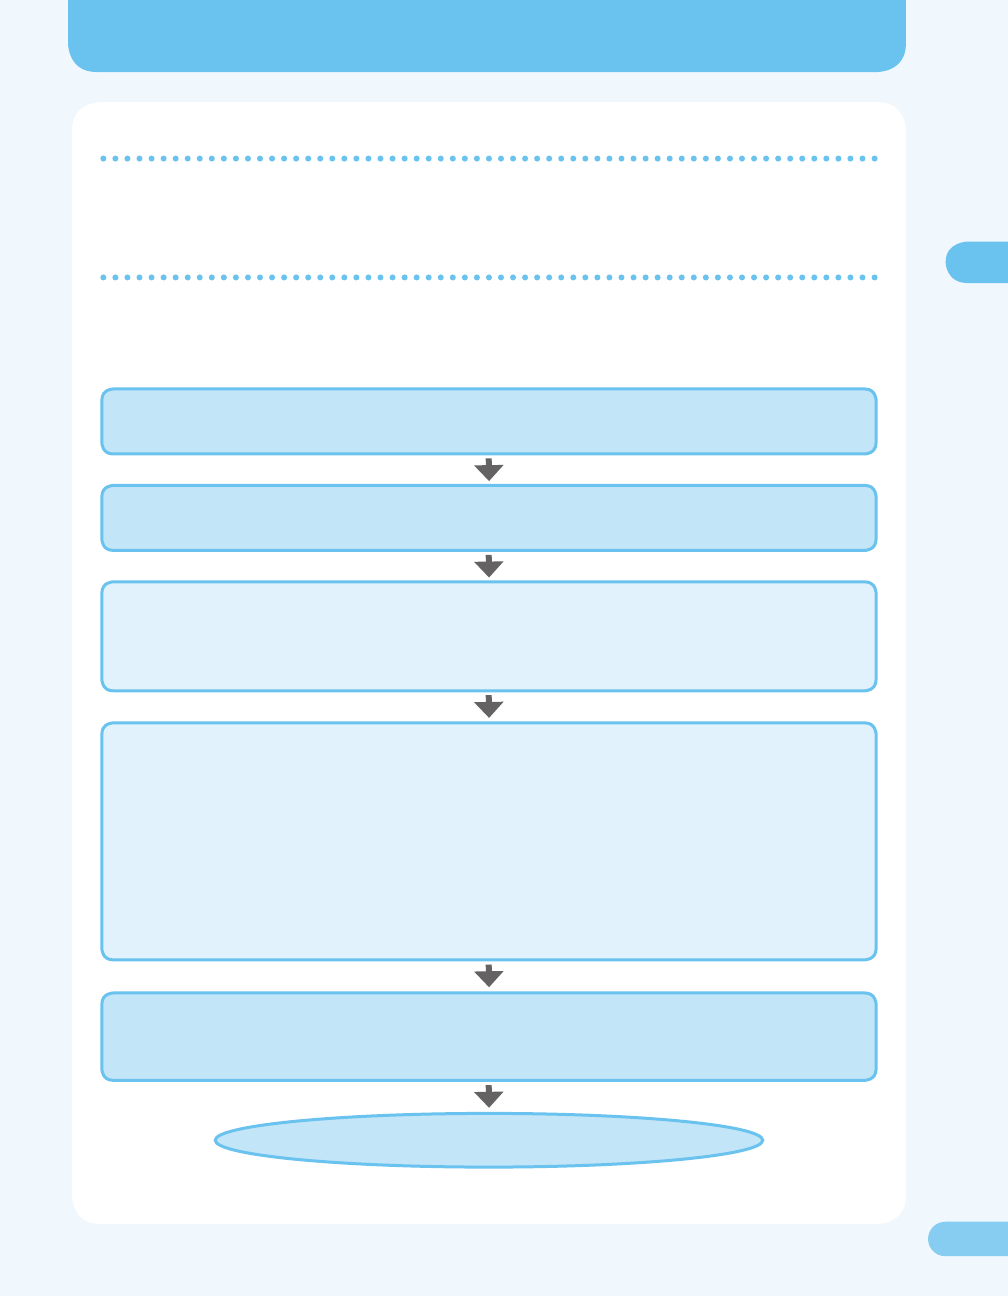
Connecting a Network Cable ( P. 13)
You connect the machine to the network environment.
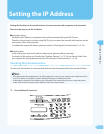
Setting the IP Address ( P. 14)
You make sure the correct IP address is set.
Setting up This Machine
You set up this machine to use the Scan to File Server feature. For details on the setup procedure, see
“Settings from the Operation Panel,” ( P. 6-21) of “Setting Up a Computer as a File Server,” in Chapter 6,
“Network,” in the Reference Guide.
Setting up the Computer and Registering the Destination
You set up the computer to which you want to store a scanned document and register the destination.
For details on the setup procedure, see “Conguring a Shared Folder,” ( P. 6-23) of “Setting Up a
Computer as a File Server,” in Chapter 6, “Network,” in the Reference Guide.
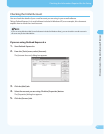
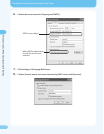
Setup and conrmation on the computer
Conrming if the functions required for setting up the shared folder are installed
Setting up the shared folder
Setup from this machine
Registering the destination (le server)
●
–
–
●
–
Using the File Server Feature
You can operate the Scan to File Server feature in the same way as the Scan to E-mail feature.
See “Sending E-Mails,” ( P. 25) and test the feature.
The setup is completed.


