


E Series User Manual
020-000515-01 Rev. 2 (03-2013)
Section 3: Installation
3-9
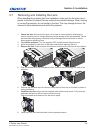
3.7 Removing and Installing the Lens
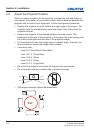
Center the lens:1. Ensure that the lens is at or near its center position. Attempting to
remove the lens when at a large offset may cause damage to the lens assembly. Center
the lens while the projector is switched on by pressing the lens horizontal or vertical
button and then pressing Enter.
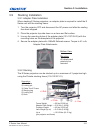
Turn Off the projector:2. Turn the projector OFF and disconnect the power cord.
Allow the projector to cool down to Standby mode before replacing the lens.3.
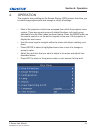
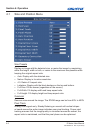
Remove the lens:4. Push and open the lens door located on the top-front of the projector.
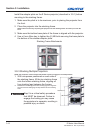
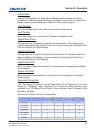
Push the release lever up to release the lock. Remove the lens through the front of the 5.
projector.
Remove the rear lens cap from the lens. Keep the front lens cap on the lens to protect it 6.
during installation.
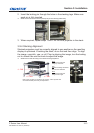
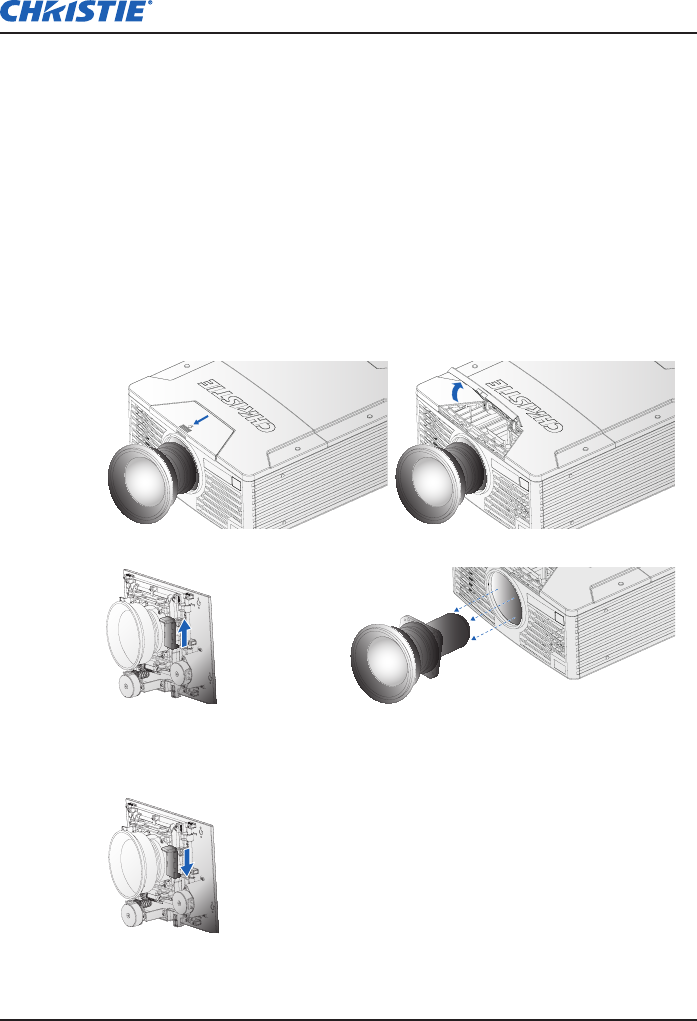
Install the new lens:7. Align the lens interface plate with the lens mount. Fully insert the
assembly straight into the lens mount without turning.
Push the release lever down to lock the lens in place.
Lower the Lens Door and slide back into the secured position. 8.
When handling the projector after lens installation, make sure the front lens cap is
placed on the lens to protect the lens surface from potential damage. When carrying
or moving the projector, do not handle by the lens. This may damage the lens, the
chassis or other mechanical parts within the projector.