Setting Up and Configuring the Router
Firewall
Cisco RVS4000 Security Router with VPN Administrator Guide 53
5
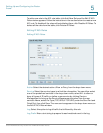
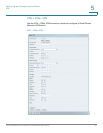
On the List of PCs popup, you can define PCs by MAC Address or IP Address. You
can also enter a range of IP Addresses if you want this policy to affect a group of
PCs.
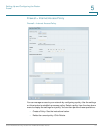
To create an Internet Access policy:
STEP 1 Select the desired policy number from the Internet Access Policy drop-down
menu.
STEP 2 Enter a Policy Name in the field provided.
STEP 3 To enable this policy, set the Status option to Enable.
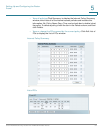
STEP 4 Click Edit List of PCs to select which PCs will be affected by the policy. The List
of PCs popup appears. You can select a PC by MAC Address or IP Address. You
can also enter a range of IP Addresses if you want this policy to affect a group of
PCs. After making your changes, click Save to apply your changes.
STEP 5 Click the appropriate option, Deny or Allow, depending on whether you want to
block or allow Internet access for the PCs you listed on the List of PCs popup.
STEP 6 Decide which Days and what Times you want this policy to be enforced. Select
the individual days during which the policy will be in effect, or select Everyday.
Enter a range of hours and minutes during which the policy will be in effect, or
select 24 Hours.
STEP 7 If you wish to block access to websites, use the Website Blocking by URL
Address or Website Blocking by Keyword feature.
• Website Blocking by URL Address. Enter the URL or Domain Name of the
websites you wish to block.
• Website Blocking by Keyword. Enter the keywords you wish to block in the
fields provided. If any of these Keywords appears in the URL of a website,
access to the site will be blocked. Note that only the URL is checked, not the
content of each Web page.
Click Save to save your changes, or click Cancel to undo your changes.


