


4. Remove the new drive from its packaging.
Save the original packaging for storing or shipping the hard drive.
5. Slide the new hard drive into the bay and into the connector until it is fully seated.
6. Replace the screws.
7. Install the operating system for your computer (see Restoring Your Operating System).
8. Install the drivers and utilities for your computer (see Reinstalling Drivers and Utilities).
Returning a Hard Drive to Dell
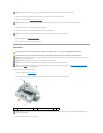
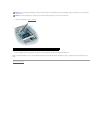
Return your old hard drive to Dell in its original or comparable foam packaging. Otherwise, the hard drive may be damaged in transit.
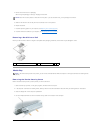
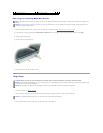
Media Bay
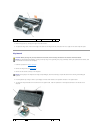
Removing the Device Security Screw
Remove the device security screw (if present) before you remove the device:
1. Save and close any open files, exit any open programs, and shut down the computer.
2. If the computer is connected to a docking device (docked), undock it. See the documentation that came with your docking device for instructions.
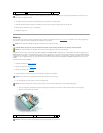
3. Close the display and turn the computer upside-down.
4. Use a #1 Phillips screwdriver to remove the device security screw from the bottom of the computer.
NOTICE: Use firm and even pressure to slide the drive into place. If you use excessive force, you may damage the connector.
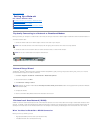
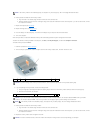
1
foam packaging
2
hard drive
NOTE: If the device security screw is not present, you can remove and install devices while the computer is running and connected to a docking device
(docked).