


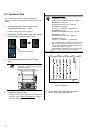

fi-412PR Imprinter Operator’s Guide | 9
3. Basic Operation
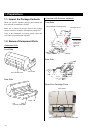
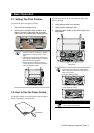
3.1. Setting The Print Position
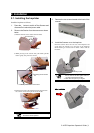
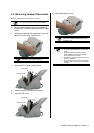
To position the print cartridge for printing:
1. Open the Print Cartridge Cover.
2. Hold the print cartridge holder, as below, and
slide it to the left or right within the document
width to set it at a suitable print starting position.
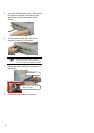
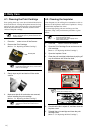
HINT
● The small “▲” protruding from the upper right
hand side of the print cartridge tray handle
indicates the current print position on the
page.
● Above the print cartridge tray are document
size markings; please use them to adjust for
paper size and printing position.
● Put the actual document in the ADF and
confirm that the print cartridge is positioned
within the document’s width.
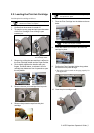
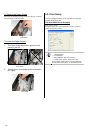
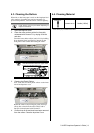
3.2. How to Use the Paper Guides
Use the Paper Guides to prevent against paper jams due to
curling of the edges, as shown below.
Place the Paper Guides at the ends where the paper edges
will pass through.
1. Insert the document in the scanner.
2. Open the Print Cartridge Cover.
3. Slide the Paper Guides to the left and right of the
page edges.
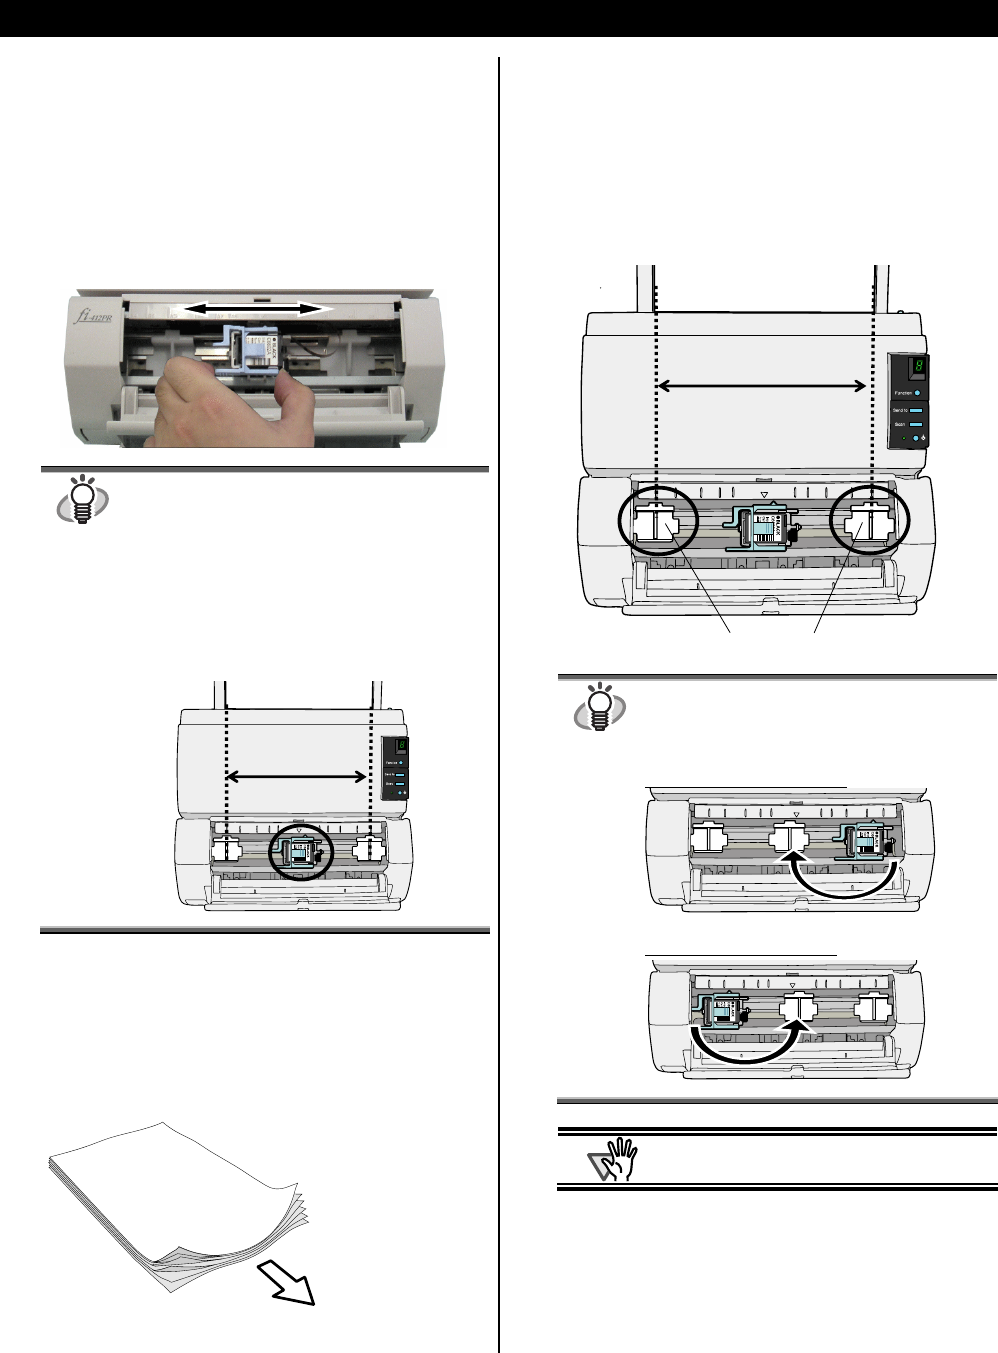
HINT
When you wish to print on the near the edges of
a wide width paper, remove the Paper Guide in
order to open space for the Print Cartridge, and
attach it at the center.
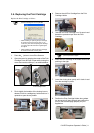
For Right Side Edge Printing
For Left Side Edge Printing
ATTENTION
Be careful not to let the Paper Guide touch or
catch onto the print circuit film.
Paper Guide
Feed direction