Set up for network printing 19
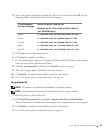
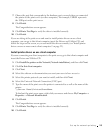
7 Choose the port that corresponds to the hardware port you used when you connected
the printer to the print server (or other computer). For example, USB001 represents
the USB port on the print server.
8 Click Finish.
The Congratulations screen appears.
9 Click Print a Test Page to verify the driver is installed correctly.
10 Click Finish.
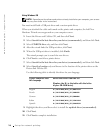
If you are sitting at the print server and want to install printer drivers on one client
computer, you can go to that client computer, insert the Drivers and Utilities CD, and
follow the steps on the screen, or you can install the drivers remotely (see“Install printer
drivers on one or more remote client computers” on page 22).
Install printer drivers on one client computer
If you are connecting one client computer to the print server, go to that client computer and
insert the Drivers and Utilities CD.
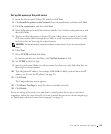
1 Click Install the printer on the Network (Network installation), and then click Next.
2 Click On this client computer.
3 Click Next.
4 Select the software or documentation you want your users to have access to.
5 Select the printer protocols you want to install, and then click Next.
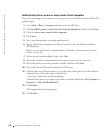
6 Select the Universal Network Connection (UNC) port.
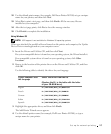
7 Type the name of the print server the printer is connected to as well as the name of the
printer:
\\Server Name\PrinterShareName.
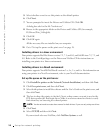
To find out the print server name, right-click your mouse and choose My Computer →
Properties →Network Identification.
8 Click Finish.
The Congratulations screen appears.
9 Click Print a Test Page to verify the driver is installed correctly.
10 Click Finish.


