


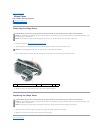


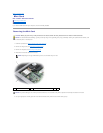


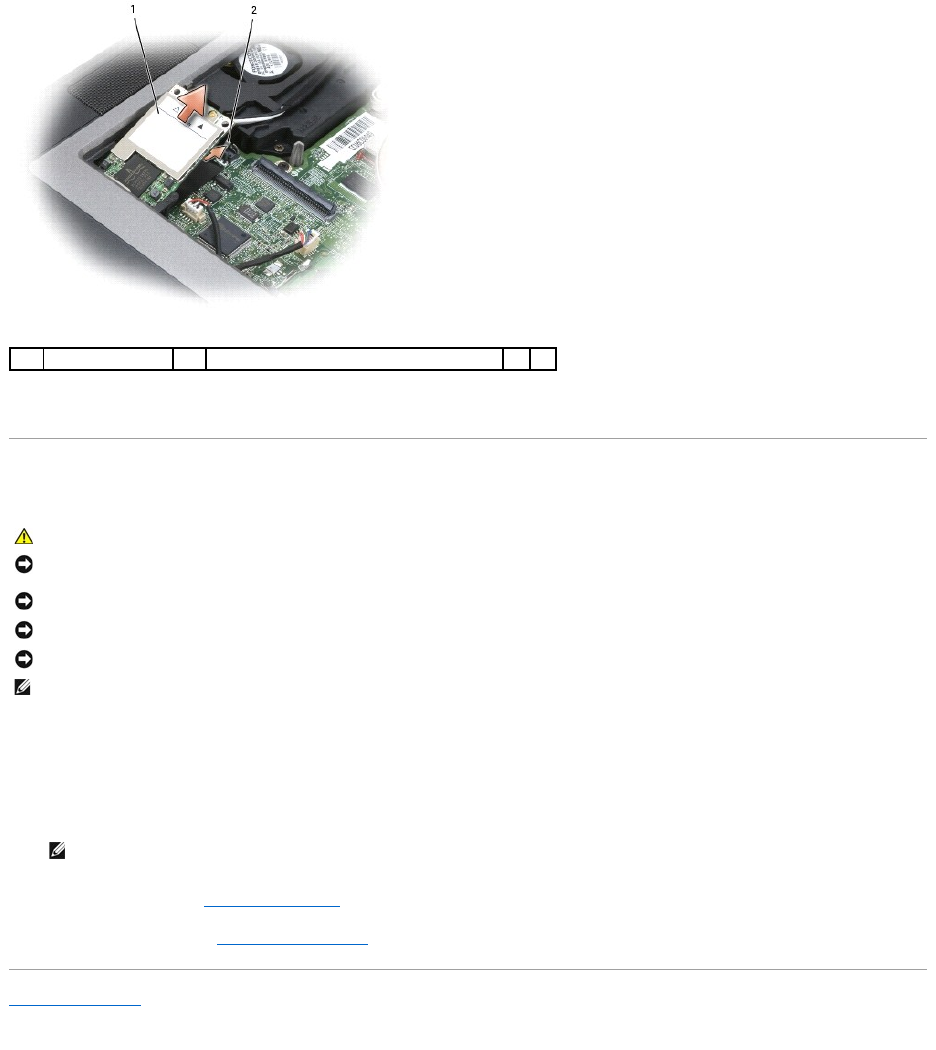
6. Remove the Mini-Card from the connector at a 45-degree angle.
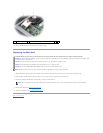
Replacing the Mini-Card
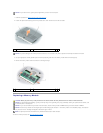
1. Align the Mini-Card edge connector with the system board connector, then slide the card firmly into the connector at a 45-degree angle.
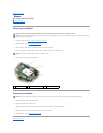
2. Rotate the Mini-Card down until it clicks into place. If you do not feel the click, remove the card and reinstall it.
3. Connect the cables to the Mini-Card, ensuring that you route the cables correctly.
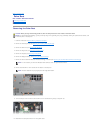
4. Replace the keyboard (see Replacing the Keyboard).
5. Replace the hinge cover (see Replacing the Hinge Cover).
Back to Contents Page
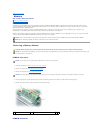
1
Mini-Card
2
metal retention bracket
CAUTION: Before you perform any of the procedures in this section, follow the safety instructions in the Product Information Guide.
NOTICE: To avoid electrostatic discharge, ground yourself by using a wrist grounding strap or by periodically touching an unpainted metal surface, such
as the back panel on the computer.
NOTICE: The card connector is keyed to ensure correct insertion. If you feel resistance, realign the card.
NOTICE: To avoid damaging the Mini-Card, never place cables on top of or under the card.
NOTICE: Do not insert a Mobile Broadband (WWAN) network card into the WLAN card connector.
NOTE: The Mini-Card may have two or three antenna connectors, depending on the type of card you ordered.
NOTE: For more specific information about which cable to connect to which connector, see the documentation that came with your Mini-Card.