


Back to Contents Page
Processor Thermal-Cooling Assembly
Dell™Latitude™D531ServiceManual
Removing the Processor Thermal-Cooling Assembly
Replacing the Processor Thermal-Cooling Assembly
Removing the Processor Thermal-Cooling Assembly
1. Follow the instructions in Before Working Inside Your Computer.
2. Remove the hinge cover (see Removing the Hinge Cover).
3. Remove the keyboard (see Removing the Keyboard).
4. Disconnect the Mini-Card antenna cables (see Removing the Mini-Card).
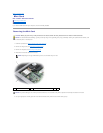
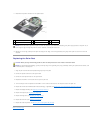
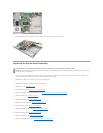
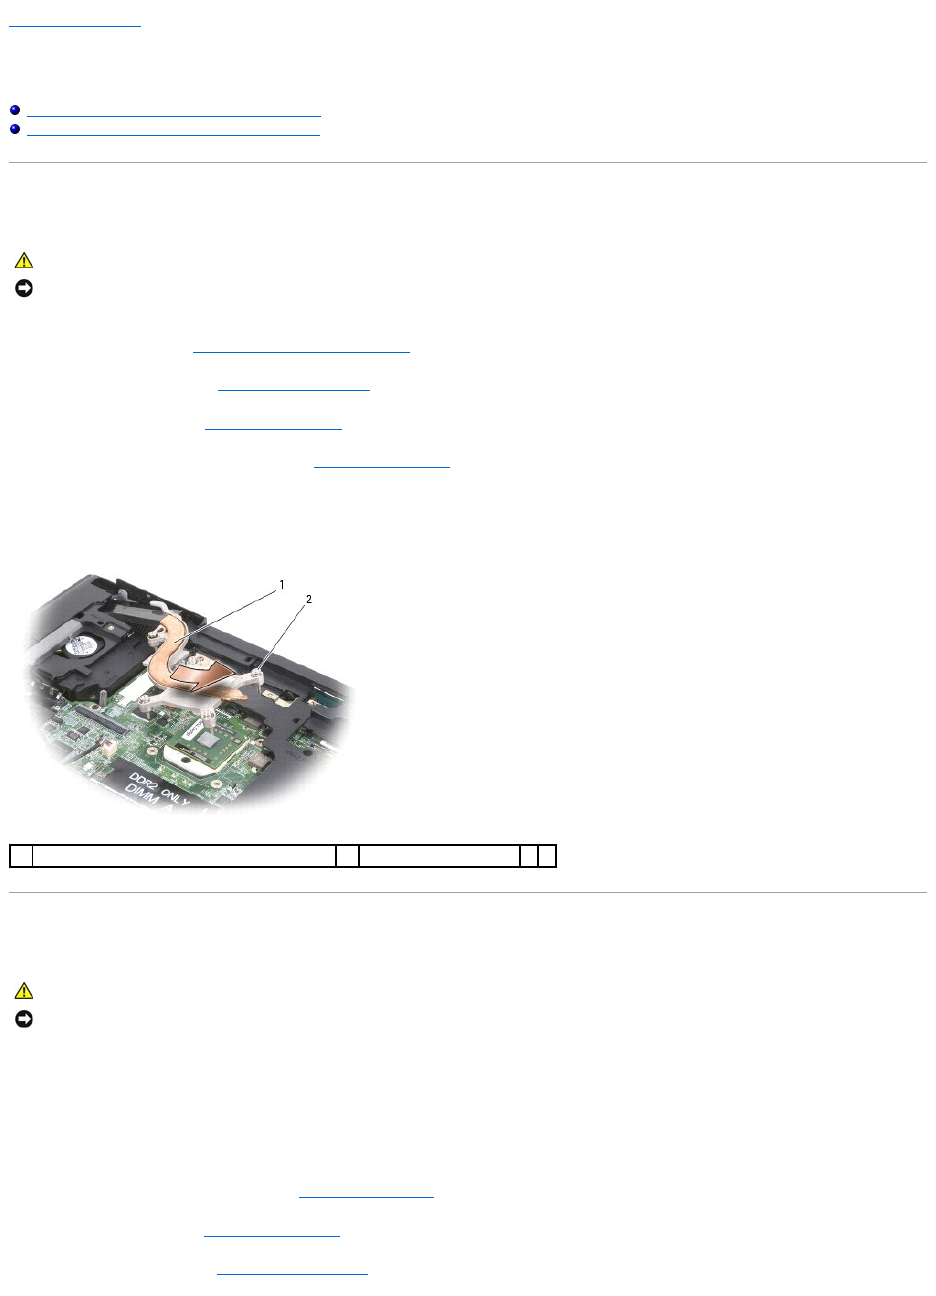
5. In sequential order, loosen the five captive screws that secure the processor thermal-cooling assembly to the system board, then carefully lift the
processor thermal-cooling assembly out of the computer.
Replacing the Processor Thermal-Cooling Assembly
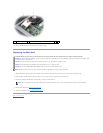
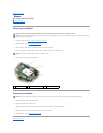
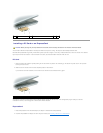
1. Insert the heat sink on the processor thermal-cooling assembly into the slot above the fan at a 45- degree angle, then lower the assembly into place.
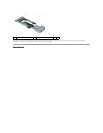
2. Align the five captive screws on the processor thermal-cooling assembly with the screw holes on the system board.
3. In sequential order, tighten the five captive screws to secure the processor thermal-cooling assembly to the system board.
4. Connect the Mini-Card antenna cables (see Replacing the Mini-Card).
5. Replace the keyboard (see Replacing the Keyboard).
6. Replace the hinge cover (see Replacing the Hinge Cover).
CAUTION: Before you begin the following procedure, follow the safety instructions in the Product Information Guide.
NOTICE: To avoid electrostatic discharge, ground yourself by using a wrist grounding strap or by periodically touching an unpainted metal surface, such
as the back panel on the computer.
1
processor thermal-cooling assembly
2
captive screws (5)
CAUTION: Before you begin the following procedure, follow the safety instructions in the Product Information Guide.
NOTICE: To avoid electrostatic discharge, ground yourself by using a wrist grounding strap or by periodically touching an unpainted metal surface, such
as the back panel on the computer.