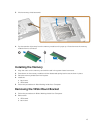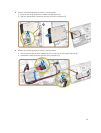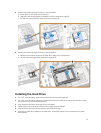
4. Perform the following steps as shown in the illustration:
a. Press down on the hard-drive bracket [1].
b. Slide the hard-drive assembly to release it from the hard-drive cage [2].
c. Lift the hard-drive assembly away from the computer [3].
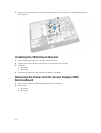
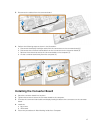
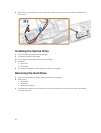
5. Perform the following steps as shown in the illustration:
a. Remove the screws that secure the hard-drive cage to the computer [1].
b. Lift the hard-drive cage away from the computer [2].
Installing the Hard Drive
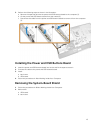
1. For a 3.5–inch hard drive, slide the hard drive into the hard-drive bracket.
2. For a 2.5–inch hard drive, tighten the screws that secure the hard-drive case to the hard drive. Slide
the hard drive into the hard-drive bracket.
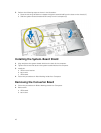
3. Align and place the hard-drive cage on the computer.
4. Tighten the screws that secure the hard-drive cage to the computer.
5. Align and place the hard-drive bracket on the hard-drive cage.
6. Connect the hard-drive cables to the hard drive. Thread the cables into the notches on the hard-
drive bracket.
21


