Dialogic® 3000 and 4000 Media Gateway Series Quickstart Guide
page 15
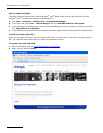
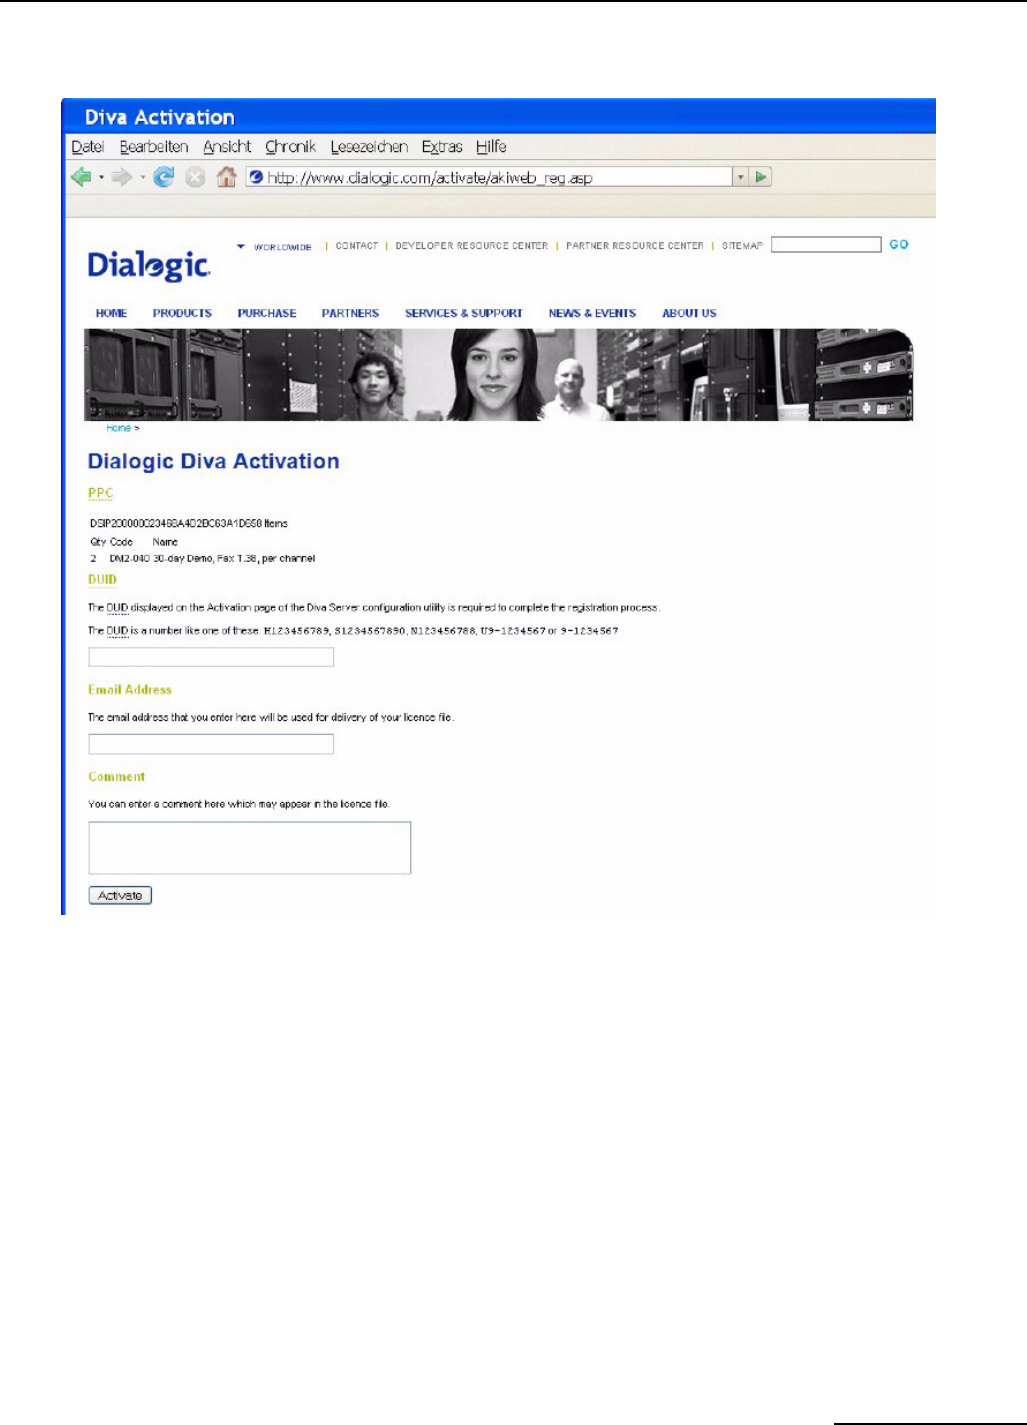
3. If your PPC is valid, the following web site will open:
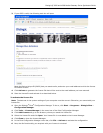
Paste the Device Unique ID (DUID) that you saved earlier, and enter your email address to which the license
file should be sent.
4. Click Activate to generate the license file that will be sent to the email address you have entered.
5. Save the license file and activate it as described below.
To activate the license file
Note: The date set in the system settings of your computer must be correct. Otherwise, you cannot add your
license file.
1. Open the Dialogic
®
Diva
®
Configuration Manager. To do so, click Start > Programs > Dialogic Diva >
Configuration Manager.
1. Click Tools > License Manager in the menu bar of the Diva Configuration Manager.
2. Click Add License and go to the directory where you saved the license file.
3. Select the license file and click Open. Your license file is now added to the License Manager.
4. Click Close to close the License Manager.
5. In the Diva Configuration Manager menu bar, click File > Activate to activate the configuration.
6. Now, the fax functionality you acquired with your license is unlocked.


