Thin Web Server Setup Program – Serial Connection
4-3
How to start and setup the Thin Web Server software
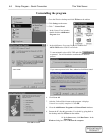
After installing the Thin Web Setup Program start the Thin Web Server software and set it up.
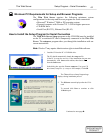
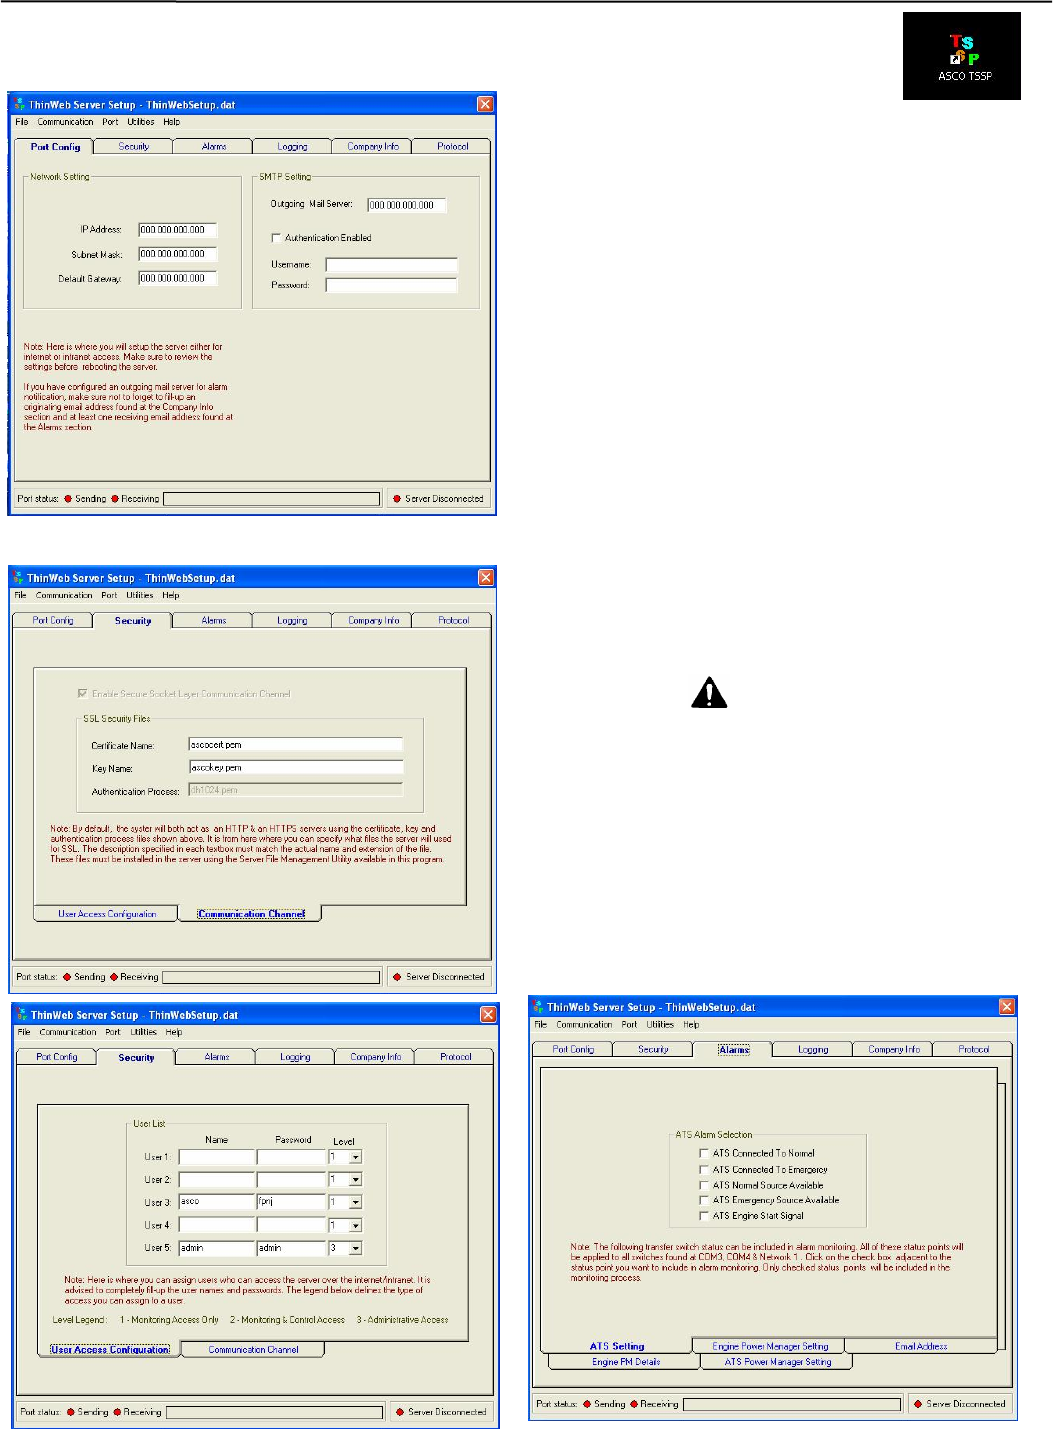
1. Double click the icon on the Windows desktop.
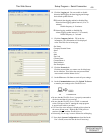
2. The Port Config tab displays first. Work with your net-
work administrator to set up the server either for an inter-
net or an intranet application. Enter the Ethernet TCP/IP
information and outgoing mail server (SMTP). If email
authentication must be enabled (ask your administrator),
click Authentication Enabled and fill in the Username
and Password.
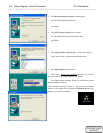
3. Click the Security tab. By default the server is set as an
HTTP & HTTPS server. A default certificate name &
key
name is shown. Use this default and click Next. If not,
make sure the files are installed in the server using the
Server File Management Utility available in the
program.
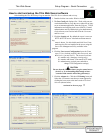
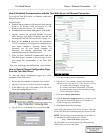
4. Click the User Access Configuration lower tab. Enter
up to 5 Users (include yourself), their Passwords, and
their Levels. (you are level 3). The Access Levels are:
1 is monitor only (data page viewing only)
2 is monitor and control (can transfer ATS loads)
3 is administrator (assigns users and able to
change TWS configuration settings)
CAUTION
Be sure that the Users to whom you give control access
(levels 2 or 3) are knowledgeable enough to have
control of load transfer and of the generator(s).
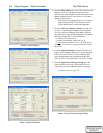
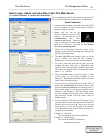
5. Click the Alarms tab. Click the ATS Setting lower tab.
Select the ATS status events that you want reported by
clicking the boxes next to the items under ATS Alarm
Selection (shown below).
continued on the next page
Ö


