Client Settings Thin Web Server
8-2
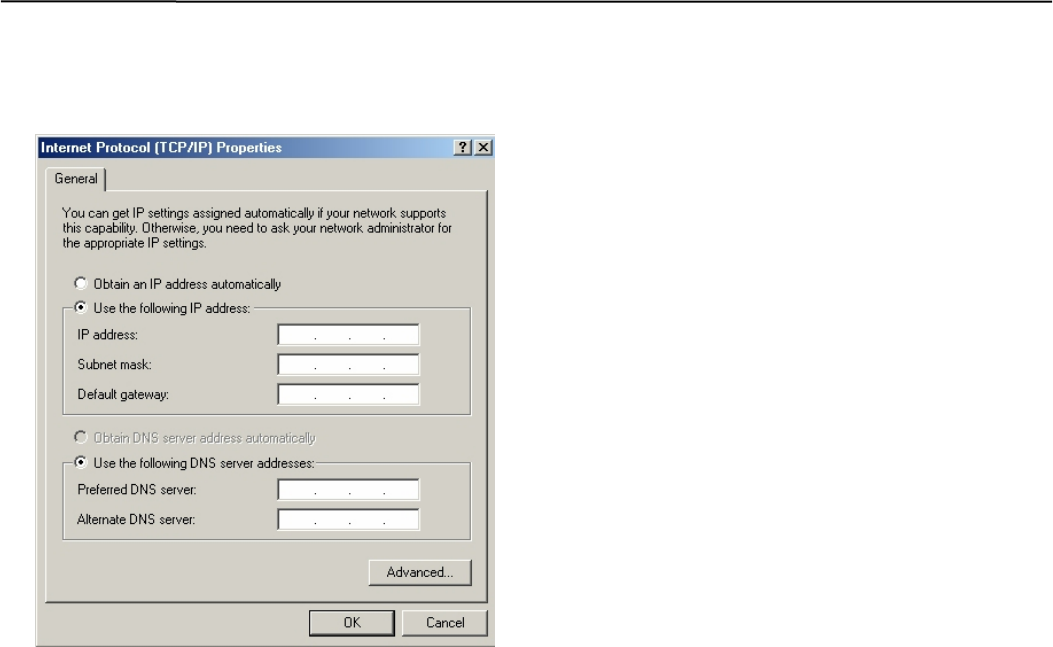
5. Install Internet Protocol by clicking on Install button.
If already installed highlight Internet Protocol (TCP/IP)
and click on Properties.
6. If your PC is on the company network contact your IT
personnel for appropriate settings. If you are connecting
to an ISP using DSL or cable modem contact your service
provider for the settings.
7. If you have created a dedicated local area network to
connect to the Thin Web Server this is where you have to
enter a unique IP number for your PC. For example if
Thin Web server IP configuration is:
IP no. : 169.254.001.002
Subnet: 255.255.255.0
Gateway: 0.0.0.0
Computer IP configuration will be:
IP no. : 169.254.001.003
Subnet: 255.255.255.0
Gateway: 0.0.0.0
Note:
Once the TCP/IP setup is complete at the PC it is
preferred to re-boot the PC.
8. To verify if the Ethernet connection between the PC and
the Thin Web Server is working click on the following:
Start > Programs > Accessories > Command Prompt
On the command prompt type:
C:\ >ping 169.254.001.002
(If IP address of the Thin Web server is as listed in the
example otherwise replace it with the new assigned one).
9. To see the PC’s IP settings type: C:\>ipconfig
Note:
The network administration determines the IP Address
numbers and Subnet Mask numbers.
