Hardware Preparation and Installation
RTM-ATCA-F120-OPT Installation and Use (6806800G29C)
30
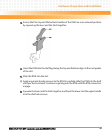
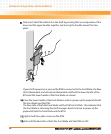
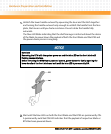
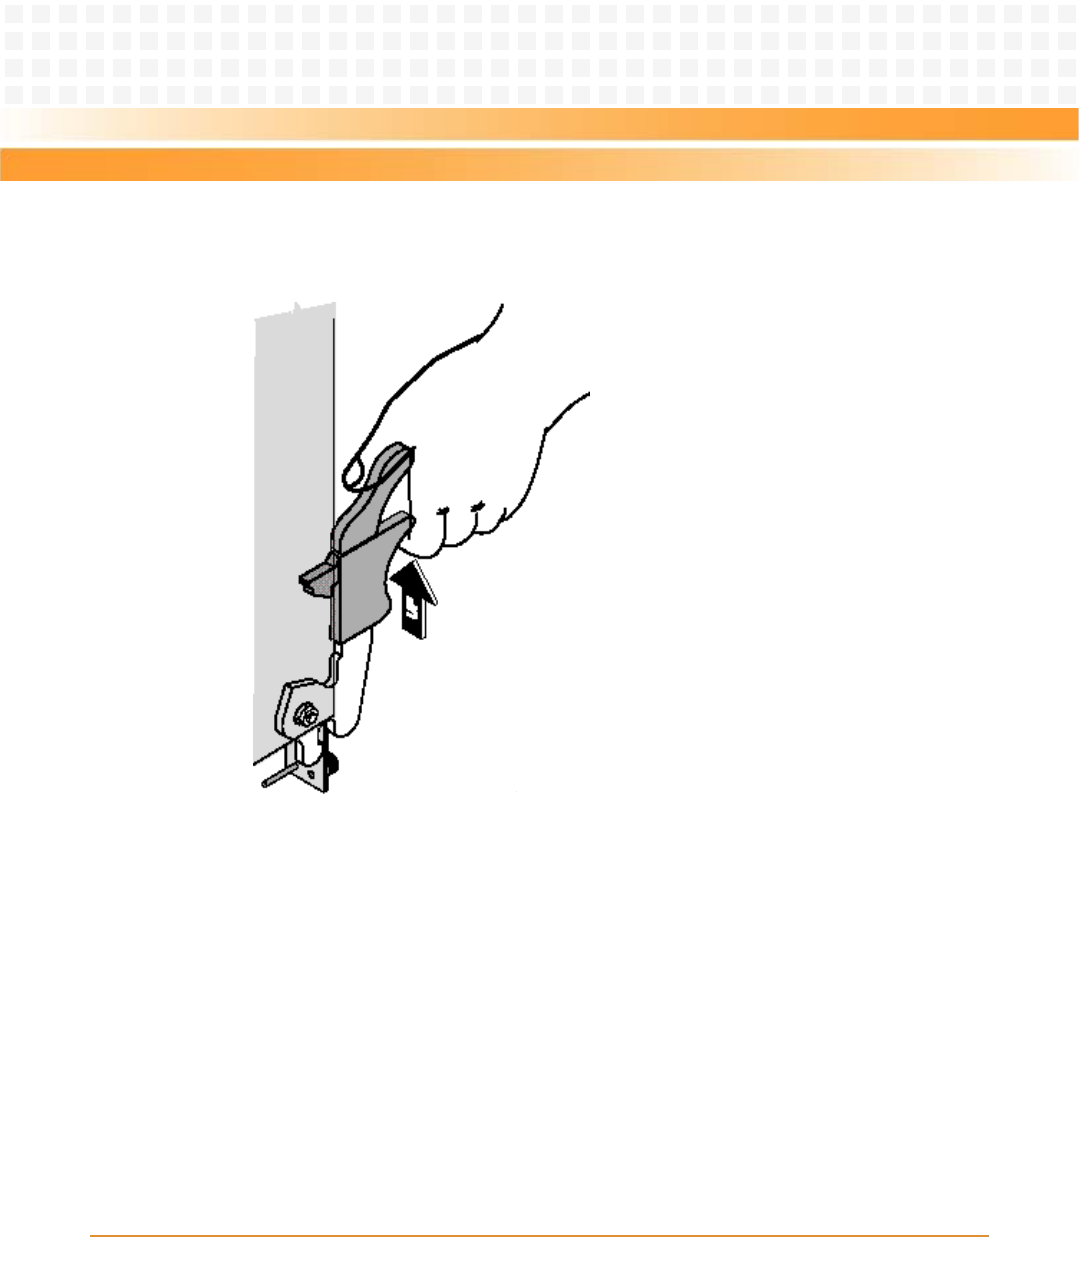
9. Fully insert the RTM and lock it to the shelf by pressing the two components of the
lower and the upper handles together and turning the handles toward the face
plate.
If your shelf is powered, as soon as the RTM is connected to the front blade, the blue
LED is illuminated, and will remain illuminated until both the lower handle of the
RTM and the lower handle of the front blade are closed.
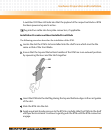
10.Close the lower handle of the front blade in order to power up the payload of both
the front blade and the RTM.
The blue LEDs of both the front blade and the RTM start to flash. This indicates that
the front blade is informing the shelf manager about its desire to power up the
payload of both the front blade and the RTM.
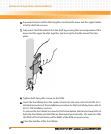
11.Tighten both face plate screws on the RTM.
12.Wait until the blue LEDs of both the front blade and the RTM are OFF.


