Displaying and Adjusting the Image 17
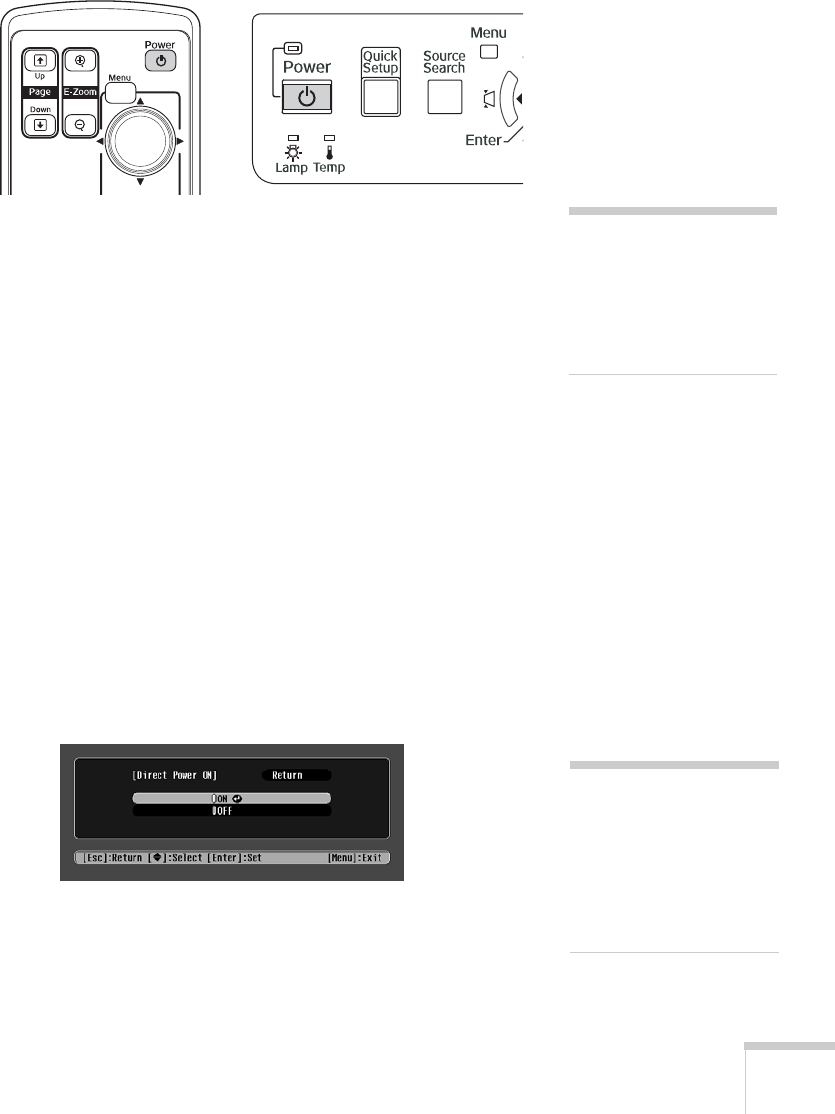
3. Press the PPower button on the remote control or on top of the
projector.
The projector beeps once and the
Power light flashes green as the
projector warms up, then an image begins to appear. When the
Power light stops flashing and remains green, the projector is
ready for use.
4. If you are prompted to enter a password, see page 57.
Using the Direct Power On Function
The Direct Power On function enables faster setup. The projector
starts up automatically when you plug it in or turn it on with a wall
switch. You don’t have to press the P
Power button.
Follow these steps to enable Direct Power On:
1. Press the
Menu button on the remote control or projector and
select the
Extended menu.
2. Choose
Operation and press Enter.
3. Choose
Direct Power On and press Enter.
4. Highlight
On and press Enter.
5. Press
Menu to exit. The setting will take effect the next time you
plug in the projector.
warning
Never look into the lens
when the lamp is on. This
can damage your eyes, and is
especially dangerous for
children.
note
If a power outage occurs
when Direct Power On is
enabled and the projector is
plugged in, the projector will
start when the power is
restored.
User's Guide - 1810.book Page 17 Monday, September 10, 2007 6:39 PM


