


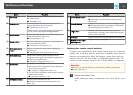
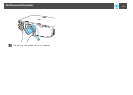

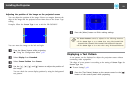
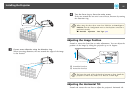
When Front is the standard, the image directions for each projection mode
are as follows.
Front (default) Front/Ceiling
Rear Rear/Ceiling
a
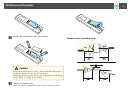
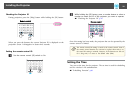
• You can change the setting as follows by pressing down the [A/V
Mute] button on the remote control for about five seconds.
FrontWFront/Ceiling
• Make sure you check the Direction setting when you change the
projector's installation position.
s Extended - Direction p.86
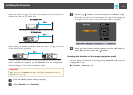
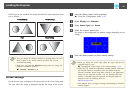
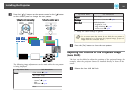
Screen Settings
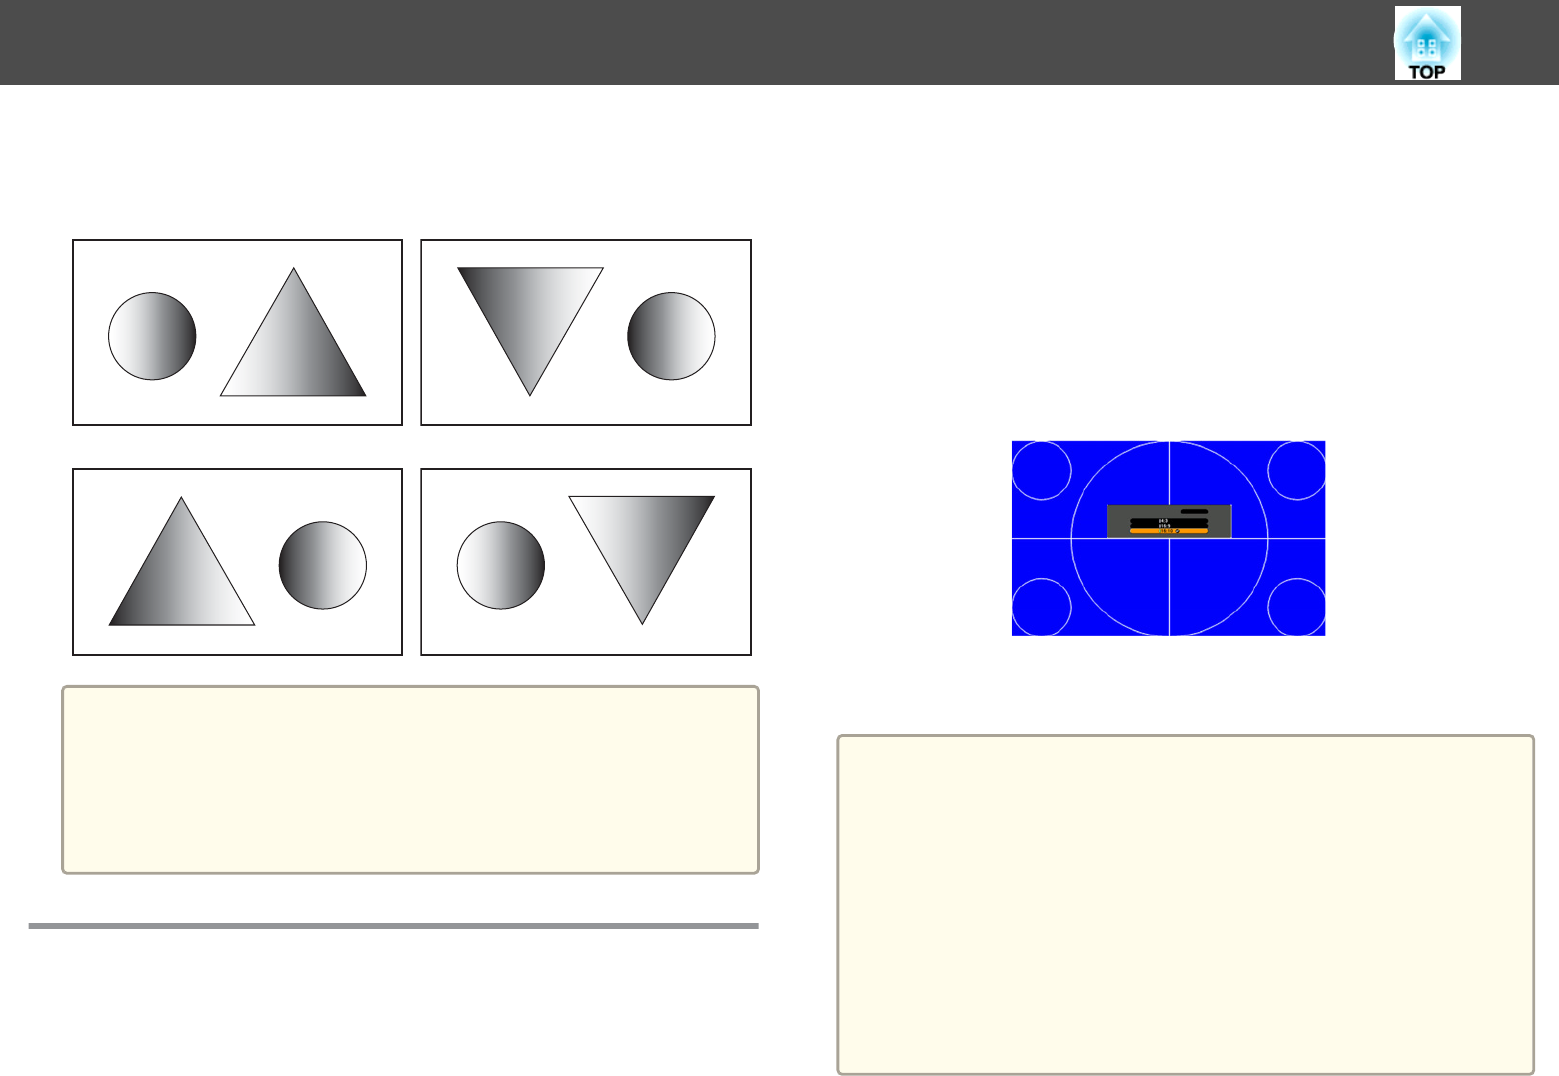
Set the Screen Type according to the aspect ratio of the screen being used.
The area where the image is displayed matches the shape of the screen.
a
Press the [Menu] button while projecting.
s "Using the Configuration Menu" p.78
b
Select Display from Extended.
c
Select Screen Type from Screen.
d
Select the screen's aspect ratio.
The shape of the background test pattern changes depending on the
setting.
e
Press the [Menu] button to finish making settings.
a
• When you change the Screen Type, adjust the aspect ratio for the
projected image as well.
s "Changing the Aspect Ratio of the Projected Image " p.47
• Make sure you install the applications EasyMP Network Projection
and EasyMP Multi PC Projection from the EPSON Projector
Software CD-ROM. When using older versions of the applications,
images are not projected correctly. You can download the latest
versions of EasyMP Network Projection and EasyMP Multi PC
Projection from the following Web site.
http://www.epson.com/
• This function does not support Message Broadcasting (an EasyMP
Monitor plugin).
Installing the Projector
22