


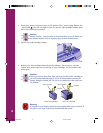

7. Follow the instructions on screen to install the software. EPSON Digital
PhotoLab is installed first. Click Finish when that installation is complete. At the
next screen, click OK to install your printer software. (There may be a brief
pause before the installation begins; if you are installing the software from
diskettes, only the printer software is installed.)
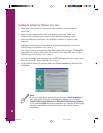
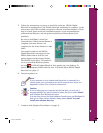
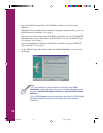
Your printer software icons and the EPSON Digital PhotoLab icon appear in the
EPSON program group and the EPSON Stylus Photo 700 is set as your default
Windows printer. To launch EPSON Digital PhotoLab, click this icon in the
EPSON program group. For details about this program, see page 15.
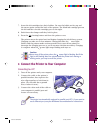
8. Continue with “Register Your Printer” on page 15.
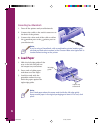
Installing the Software for Windows NT
®
4.0
If you’ve connected the printer to your Windows NT 4.0 print server, you need
to install the EPSON printer software on the server. Then set up the workstations
to share the printer. You don’t need to install the printer software on any
Windows NT 4.0 workstations if the printer software is installed on the server.
Note:
Check your Windows NT 4.0 documentation for instructions on sharing
the printer on workstations running other operating systems, such as
MS-DOS
®
.
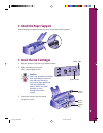
1. Turn on the printer.
2. Turn on your computer and log on to Windows NT 4.0 with the appropriate
access privileges.
11
Comoro+ GS Booklet 3/17/98, 4:35 PM15